
Putting a zipper back on clothing or other fabric items is a useful skill that can save you money on repairs and extend the life of your belongings. With some basic tools and supplies, and following a few simple steps, you can easily reattach a zipper that has come off the track or replace an old, broken zipper. In this complete guide, we will cover 6 easy methods for putting a zipper back on, so you can fix all types of zipper problems.
Table of Contents
Supplies Needed To Put A Zipper Back On
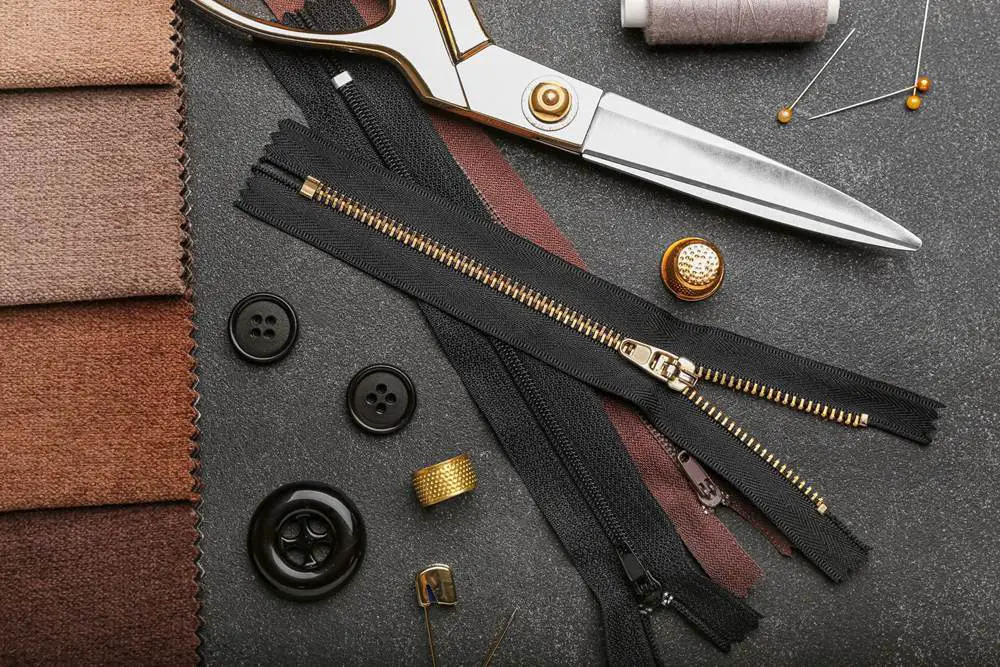
Before starting any zipper repair project, you’ll need to gather a few basic tools and materials:
- Zipper repair kit (may include pliers, new zipper teeth, retainer box, slider)
- New zipper (if fully replacing an old zipper)
- Needle and thread
- Seam ripper
- Scissors
- Safety pins
- Fabric glue (optional)
- Pliers or tweezers
6 Ways To Put A Zipper Back On
1. Realigning Zipper Teeth That Are Off Track
If your zipper teeth are intact but have come out of alignment, the fix is relatively easy. Here are the steps:
Step 1
Use pliers or tweezers to gently realign the zipper teeth so they interlock properly. Take care not to bend or damage the metal.
Step 2
Once aligned, use your fingers to pull the zipper tab slowly to rejoin the two sides. The teeth should now glide smoothly.
Step 3
If the teeth won’t stay aligned, you can add a few stitches or fabric glue at the point where the zipper came apart to reinforce it.
2. Replacing Damaged or Missing Zipper Teeth
Over time, zipper teeth can become bent, twisted or break off completely. Here’s how to swap in new teeth:
Step 1
Use scissors or seam ripper to carefully remove damaged teeth, taking care not to rip the fabric.
Step 2
Measure the length of the zipper along the tape to determine how many replacement teeth you need. Purchase individual teeth or a full zipper repair kit.
Step 3
Using pliers, clamp the replacement teeth one at a time onto the zipper tape. Match the spacing of the old teeth.
Step 4
Once all teeth are replaced, slowly pull the zipper closed to reconnect the two sides. The new teeth should mesh smoothly.
3. Replacing A Non-Separating Zipper
Non-separating zippers are a single long coil attached to two sides of a garment. Follow these steps to replace:
Step 1
Use a seam ripper to remove the old zipper stitches. Take care not to damage the fabric.
Step 2
Pin the new zipper in place, making sure it is centered and the same length as the old one.
Step 3
Using a zipper foot on your sewing machine, stitch the new zipper in place on both sides.
Step 4
Carefully remove the pins and test the zipper to ensure it glides smoothly.
4. Replacing A Separating Zipper
Separating zippers have two sections that meet in the middle. Here is how to replace:
Step 1
Unstitch the old zipper using a seam ripper. Remove it from the garment.
Step 2
Pin one side of the new zipper in place, with the edge of the zipper tape aligned with the garment edge.
Step 3
Sew this side using a zipper foot. Stitch close to the zipper teeth.
Step 4
Repeat for the other side, taking care to align the two zipper halves precisely.
Step 5
Test the zipper to ensure the two sides align correctly and the slider moves smoothly.
5. Replacing an Invisible Zipper
Invisible zippers are hidden in the seam of a garment. Follow these steps for replacement:
Step 1
Rip out the old zipper by hand or use a seam ripper. Remove all old stitches.
Step 2
Pin the two sides of the new zipper to the garment edges, right sides together. The teeth should face down between the fabric.
Step 3
Install the new zipper using an invisible zipper foot on your machine. Stitch both sides.
Step 4
Carefully press both sides of the zipper seam open so the zipper is hidden in the fabric.
6. Fixing a Stuck or Broken Zipper Slider
If the zipper tab gets stuck or won’t close all the way, the slider is likely the problem. Try these solutions:
Step 1
Use a graphite lubricant or bar soap to lightly rub the zipper teeth. This can help the slider glide more smoothly.
Step 2
Use needle nose pliers to gently squeeze together the sides of the slider, which can realign the mechanism.
Step 3
If the slider is damaged beyond repair, pry it off and replace it with a new slider. Use pliers to clamp it in place.
Tips for Getting a Zipper Back on Track
- Always use a zipper foot when sewing in a new zipper. This ensures even stitching close to the teeth.
- Take it slow when making repairs. Rushing can lead to mistakes and damage.
- Use wax paper between the zipper teeth while sewing to prevent fabric from getting caught.
- When pinning zippers, put pins parallel to the teeth so they don’t get in the way.
- Apply fabric glue sparingly and avoid getting glue on the zipper teeth.
- Lubricating zipper teeth with wax or graphite powder can help improve flow.
- When replacing a slider, choose one made of the same metal as the zipper teeth to prevent corrosion.
FAQ About Putting a Zipper Back On
What is the best glue to use when fixing a zipper?
The best glue for minor zipper repairs is a flexible fabric glue that bonds well to metals and fabrics, such as Gem-Tac or Beacon’s 3-in-1 Advanced Craft Glue. Avoid super glues which can be brittle.
How do I remove an old invisible zipper?
Use a seam ripper and gentle tugging to remove the old stitches by hand. Be patient and take care not to rip the fabric. Once stitches are removed, the zipper should pull free.
Why does my zipper separate near the bottom?
This is usually caused by strain on the zipper from tight clothing or pulling too hard. Realigning the teeth and reinforcing with stitches can help. Avoid overstuffing compartments.
How can I fix a zipper with missing teeth?
Purchase replacement zipper teeth that match the size of the originals. Use pliers to clamp the new teeth in place one-by-one where teeth are missing.
My zipper slides down on its own. What should I do?
This happens when the zipper box/retainer at the base separates. You can either stitch the box back together or replace the entire bottom stop.
That covers the 6 main methods for repairing and replacing all types of zippers. With a few basic tools and supplies, you can now save money and extend the life of your favorite garments, bags, boots and more by fixing zipper problems yourself.