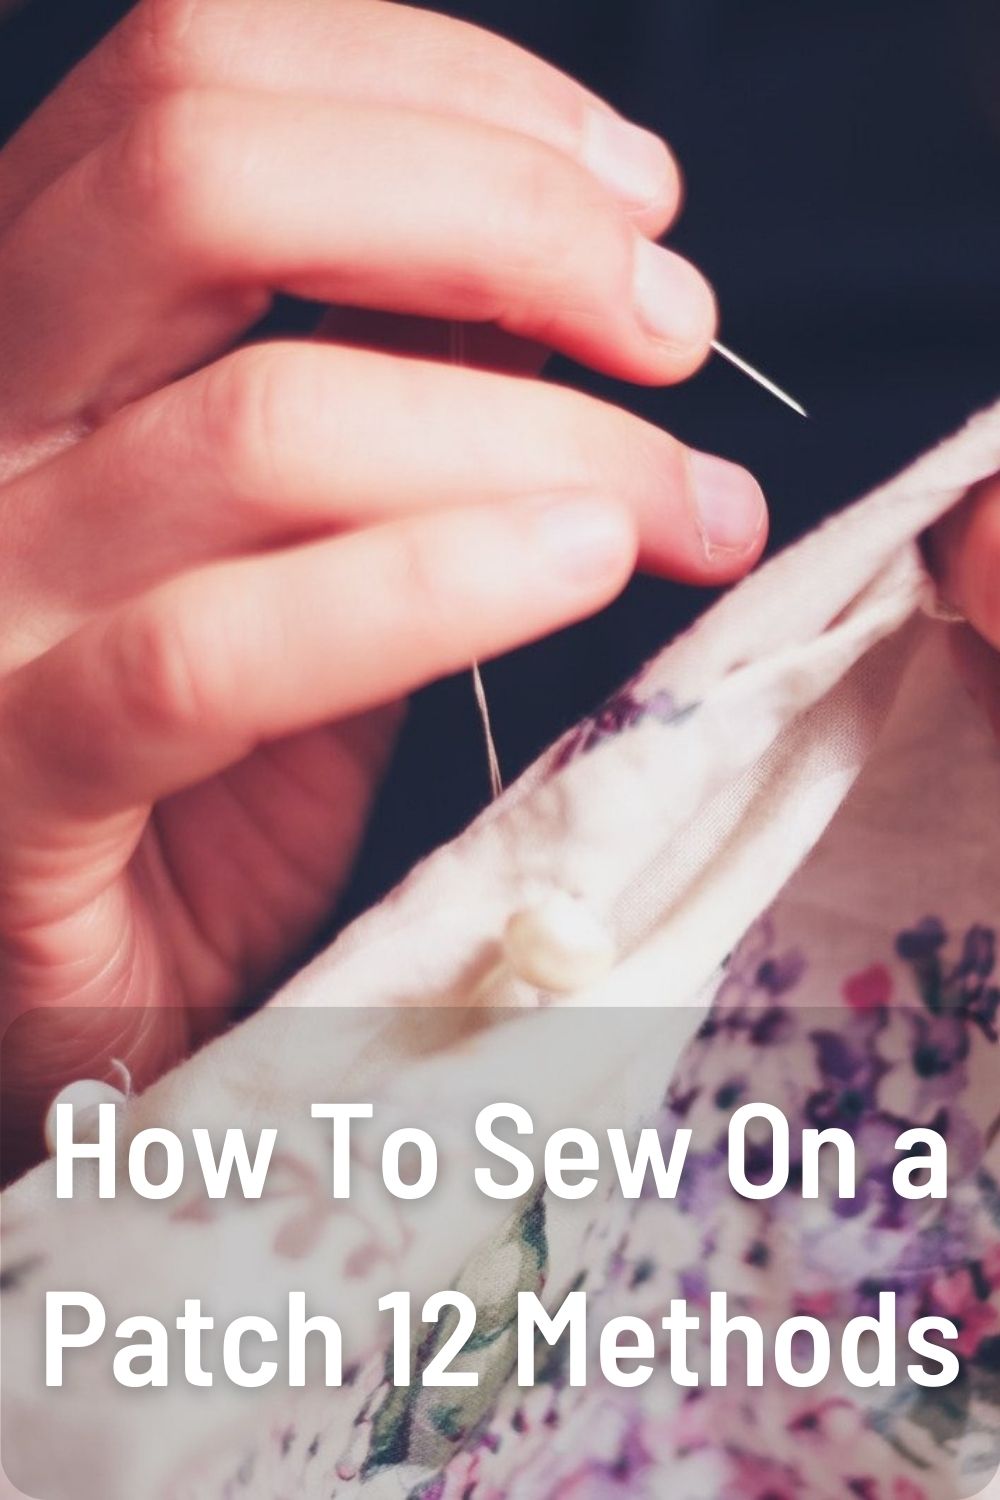
Sewing on a patch can be a great way to repair damaged clothing, reinforce high-stress areas, customize your clothes, or add decorative flair. With the right materials and techniques, it’s easy to attach a patch securely and neatly. In this comprehensive guide, we’ll cover 12 different methods for sewing on a patch, from hand sewing to machine stitching. Discover which approach works best for your project and skill level.
Table of Contents
Overview of Sewing on a Patch
Before we dive into the step-by-step instructions for each method, let’s go over some general tips and things to know about sewing on patches:
- Choosing the right patch: Pick a patch made from a similar weight and type of fabric as the garment. Iron-on patches have an adhesive backing for easy application. You can also use fabric scraps or old clothing to make DIY patches.
- Stabilizing the fabric: Use an embroidery hoop or stabilizer to keep the fabric taut and prevent puckering as you sew. This helps ensure even stitches.
- Thread selection: Opt for thread in a color that matches or blends with the patch and garment. An all-purpose polyester or cotton thread usually works well.
- Hand vs. machine sewing: Hand sewing takes more time but can be great for beginners or attaching delicate patches. Machine sewing with a straight or zig zag stitch makes quicker work for most patch jobs.
- Finishing stitches: For added durability, finish stitches by knotting threads or stitching over the edges of the patch. This secures everything in place.
Now let’s get into the nitty gritty of how to sew on patches with a variety of methods!
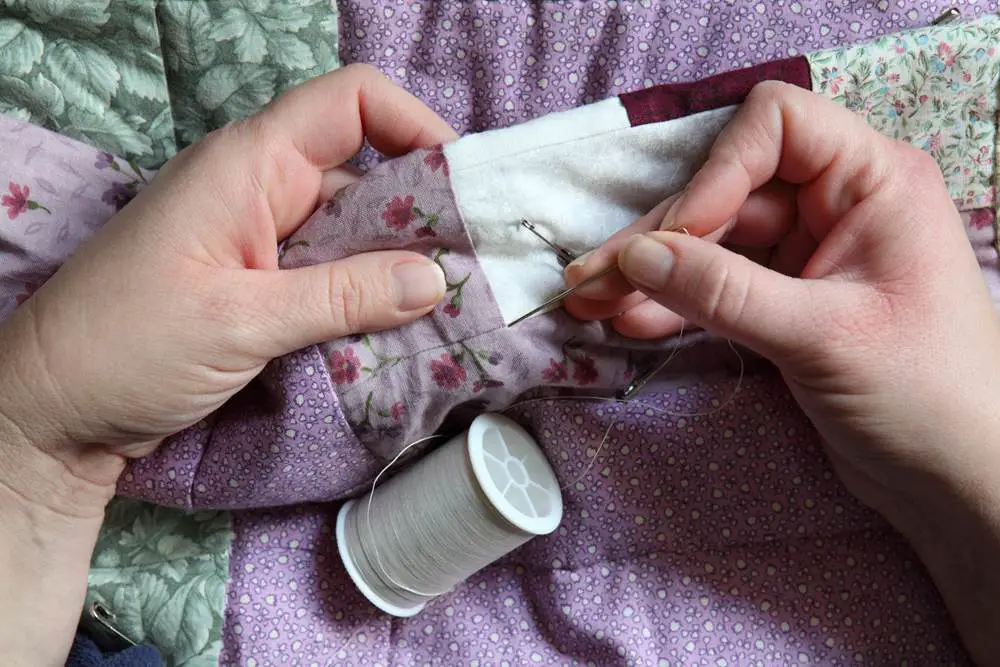
1. Hand Sewing a Patch with Running Stitch
Hand sewing with a basic running stitch is a great place to start for beginners. It’s also handy for attaching small patches in hard-to-reach spots where machine sewing would be tricky.
What You’ll Need
- Patch
- Garment to patch
- Needle
- Thread
- Scissors
- Pins
Steps
- Pin the patch in place on the garment. Make sure it’s smoothly aligned and the edges match up.
- Thread your needle and knot the end of the thread. Insert the needle from the underside of the garment up through both layers.
- Make a small running stitch by pulling the needle back through a short distance away. Keep the stitches fairly even in length and spacing.
- Continue making running stitches to sew around the edges of the patch. Try to stay 1⁄4” in from the edge.
- When you’ve sewn around the entire patch, knot the threads on the underside to finish off.
Tips
- Use small stitches (1/16”-1/8” long) tightly spaced about 1/8” apart.
- Take care not to pucker the fabric or pull too tight.
- You can also use a whip stitch or backstitch for hand sewing patches.
2. Hand Sewing an Invisible Stitch Patch
For a nearly invisible look, try the blind hem stitch or “invisible stitch” method. The needle only dips into the fold so you hardly see any threads on top.
What You’ll Need
- Patch
- Garment
- Needle
- Thread
- Pins
- Iron
Steps
- Iron the seam allowance of the patch under to create a hem. Pin it in place.
- Insert the needle from the underside only picking up a thread or two of the garment’s fabric.
- Take an upward angled stitch into the folded hem of the patch, then back down where it came from.
- Take tiny “bites” into the fold every 1⁄4” or less to make invisible stitches around the patch.
- Carefully iron the patch when finished sewing to flatten stitches.
Tips
- Starching the fold makes it easier to stitch smoothly.
- Minimize thread on the right side by only catching a couple garment threads.
- Use a matching thread color and fine needle like a sharps or milliners.
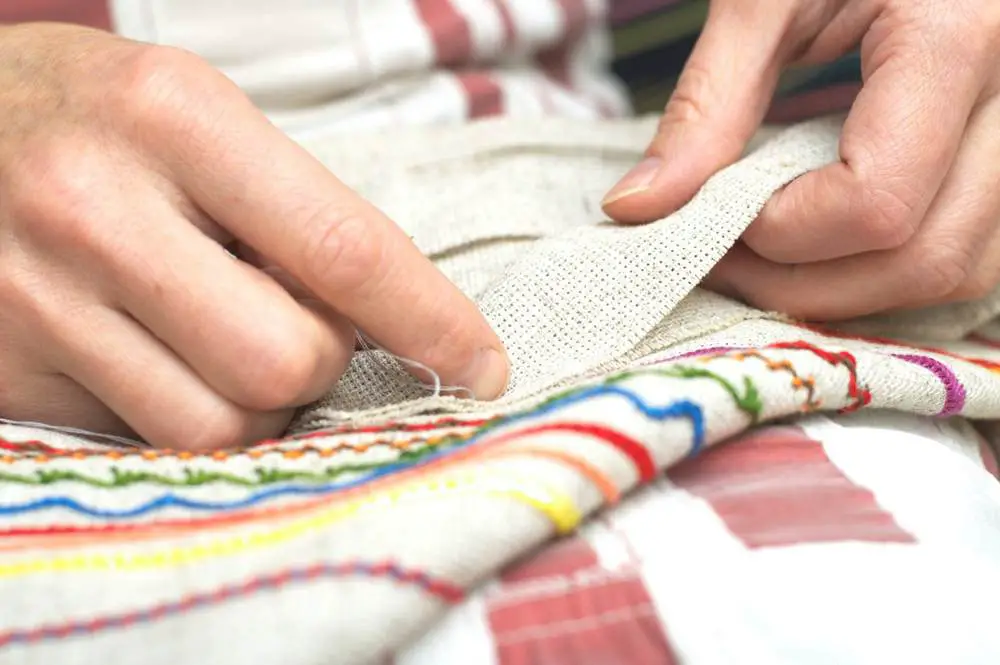
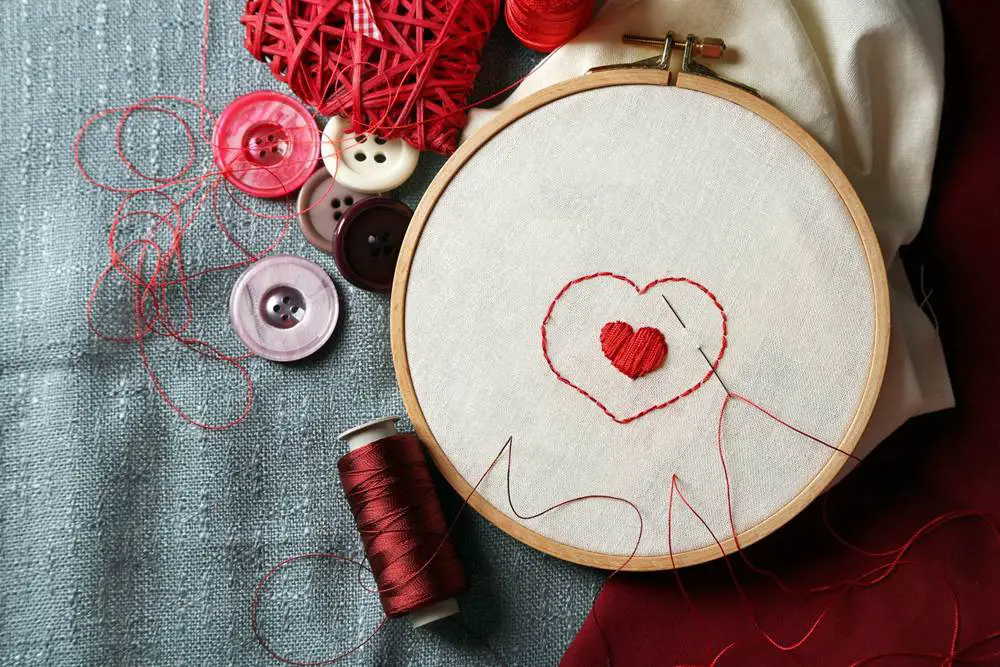
3. Blanket Stitch Patch by Hand

The blanket stitch is an attractive hand sewing stitch perfect for finishing and edging patches decoratively. It creates a nice border around the patch.
What You’ll Need
- Patch
- Garment
- Embroidery needle
- Thread
- Scissors
- Pins
Steps
- Pin the patch in position and trim any excess seam allowance.
- Thread the needle and knot the end. Insert needle from underside to top at patch edge.
- Stitch diagonally down into the patch 1/8” in and back up at the edge.
- Continue along the edge, spacing stitches evenly. Pull thread gently so the edges just meet.
- When you’re back to the beginning, knot threads on underside to finish.
Tips
- Use thicker needle like a tapestry or darning needle for easier stitching.
- For decorative patches, try a contrasting thread color.
- Add whipped stitches on the border edges for extra reinforcement.
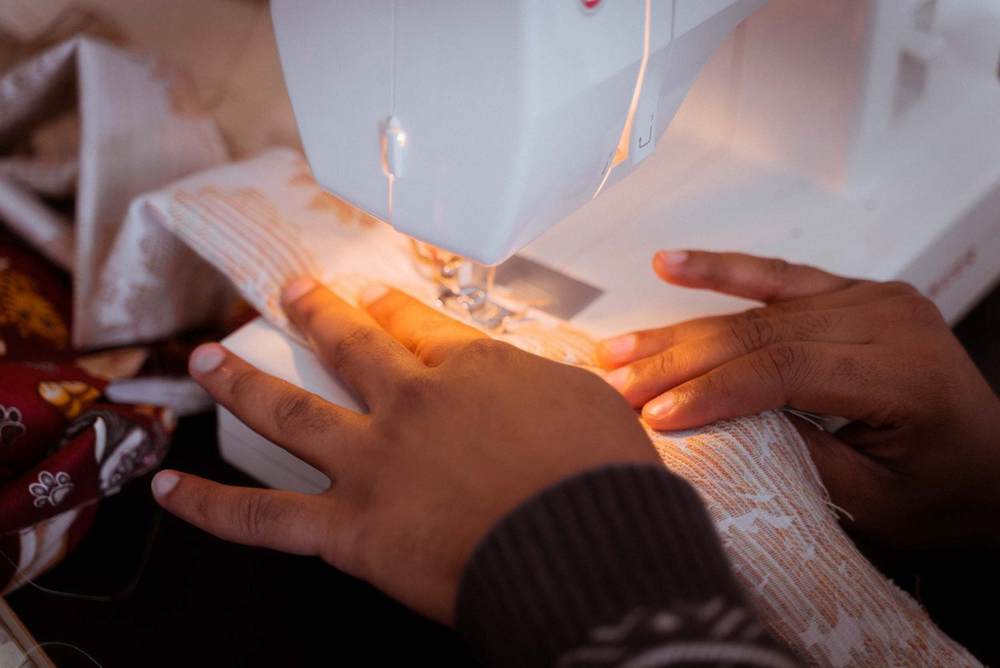
4. Sewing on a Patch by Machine – Straight Stitch
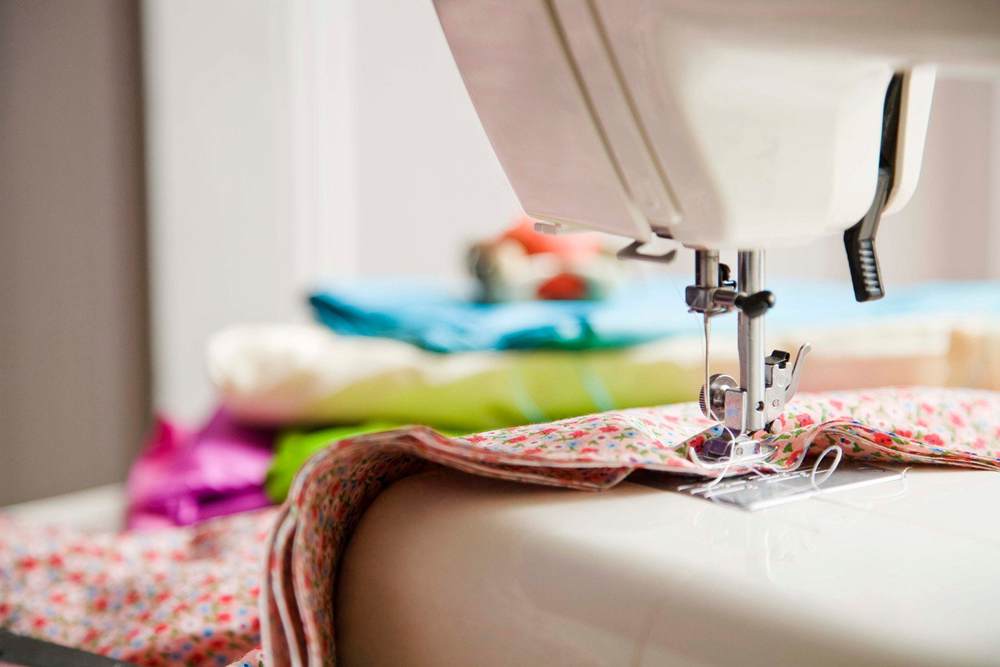
For solid patches, you can’t go wrong with a basic straight stitch on your sewing machine. It creates a nice clean finish.
What You’ll Need
- Patch
- Garment
- Matching thread
- Bobbin thread
- Sewing machine
- Pins
- Scissors
Steps
- Pin patch in place with edges aligned evenly.
- Set machine to straight stitch with regular length/width.
- Position patch under presser foot and lower needle at one edge.
- Sew around patch staying 1⁄4” from the border. Remove pins as you go.
- When you return to the starting point, backstitch or stitch over the starting stitches to secure.
- Trim excess patch fabric close to stitching.
Tips
- Engage locking stitch option if available to secure starting/ending stitches.
- For stretchy fabrics, use a zig zag stitch instead which has more give.
- Try a contrasting thread in the bobbin for an invisible look on top.
5. Machine Sewing – Zig Zag Stitch Patch
A zig zag stitch sews on patches with a little extra stretch and flexibility compared to the straight stitch. It also finishes the raw edges nicely.
What You’ll Need
- Patch
- Garment
- Matching thread
- Bobbin thread
- Sewing machine
- Pins
- Scissors
Steps
- Pin the patch in position, matching up edges.
- Set machine to a wide zig zag stitch, around 3-4mm wide and 1mm long.
- Starting at one edge, sew around the perimeter using the edge as a guide.
- When you return back to the beginning, backstitch to reinforce the stitches.
- Trim excess fabric outside the zig zag stitches.
Tips
- Reduce foot pressure for smoother stitching over thicker patches.
- Use an open zig zag for stretchier seams on knits and spandex.
- Finish by stitching a second pass around the border for durability.
6. Sewing on an Iron-On Patch

Iron-on or fusible patches make patch application super easy. The adhesive backing bonds to fabric when heated with an iron.
What You’ll Need
- Iron-on patch
- Garment
- Iron
- Parchment paper
- Pins (optional)
Steps
- Set iron to wool or high heat setting. Place parchment paper over area.
- Position patch adhesive side down onto garment area and place iron on top.
- Press firmly for 10-15 seconds until patch adheres. Avoid sliding iron.
- Check edges to ensure adhesive is fused thoroughly before removing paper.
- Once cooled, stitch around perimeter (optional) for added strength.
Tips
- Hold iron still rather than sliding to prevent dragging patch out of place.
- Let the fused patch cool completely before sewing or washing.
- Stitching around the edges is recommended for patches on clothing that will be washed.
7. How to Sew on a Patch with an Embroidery Hoop
Using an embroidery hoop keeps fabric taut and prevents puckering as you sew on a patch. It creates an evenly stitched finish.
What You’ll Need
- Patch
- Garment
- Embroidery hoop
- Thread
- Embroidery needle
- Fabric marker
Steps
- Mark a placement line for patch on the garment with fabric marker.
- Loosen hoop screw and position inner hoop behind patch placement line.
- Place garment over inner hoop, pulling fabric taut. Close outer hoop.
- Stitch patch to garment using desired hand or machine method.
- Remove hoop when finished sewing. Clean off any marking.
Tips
- Adjust hoop position periodically to keep excess fabric from gathering.
- For large patches, reposition hoop as needed to reach the entire area.
- Use the hoop outer edge as a stitching guide to keep rows even.
8. Sewing a Patch on Leather, Vinyl, or Faux Leather
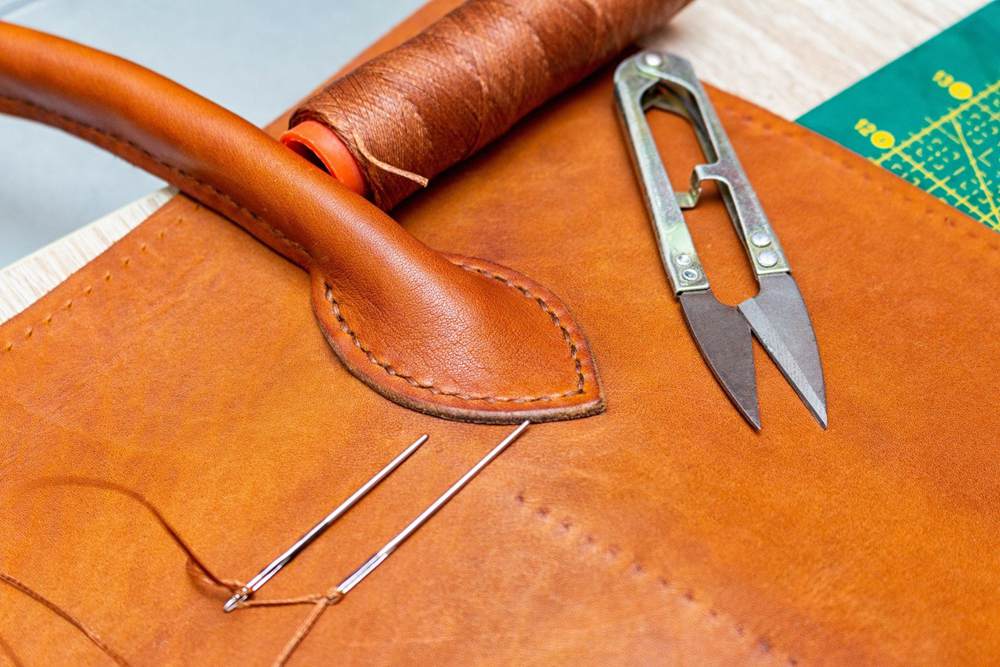
Leather and vinyl patches require special needles and tips to avoid damage while sewing. Here’s how to attach them successfully.
What You’ll Need
- Leather/vinyl patch
- Leather garment or gear
- Leather hand-sewing needles
- Upholstery thread
- Awl or hammer
- Fabric glue (optional)
Steps
- Make small holes with awl/hammer around patch edges for easier sewing.
- Apply fabric glue on underside of patch if desired for added bonding. Allow to dry.
- Thread leather needle and knot end. Insert from underside through pre-made hole.
- Use a whip stitch technique to sew patch in place by taking stitches 1⁄4” in from the edge.
- Finish stitches on underside and cut threads or use knots to secure. Let glue dry if used.
Tips
- Avoid regular sharp needles which can tear leather. Use heavy duty leather hand needles.
- For machine sewing, use a leather machine needle and glover’s needle for handles/gaps.
- Insert a piece of foam or cardstock underneath while sewing to avoid surface damage.
9. No Sew Fusible Web Patch

Fusible web provides a no-sew way to adhere patches permanently to fabric. The web fuses to fabric when heated with an iron.
What You’ll Need
- Patch fabric
- Fusible web
- Garment
- Scissors
- Parchment paper
- Iron
Steps
- Cut fusible web to match patch size. Sandwich web adhesive side down between 2 pieces of patch fabric.
- Fuse layers together according to fusible web instructions, using parchment paper.
- Cut out finished patch shape, roughly 1/4″ smaller than the unfused fabric.
- Position patch on garment fabric side down and place parchment paper on top.
- Press firmly with hot iron for about 10-15 seconds to fuse. Let cool before use.
Tips
- Avoid sliding the iron which can warp patch shape. Lift and press straight down instead.
- To prevent sticking, press fabric side first, then remove paper and fuse adhesive side.
- Defined patch shapes like hearts or stars work best since edges fuse more securely.
10. Sewing on a Patch with Applique
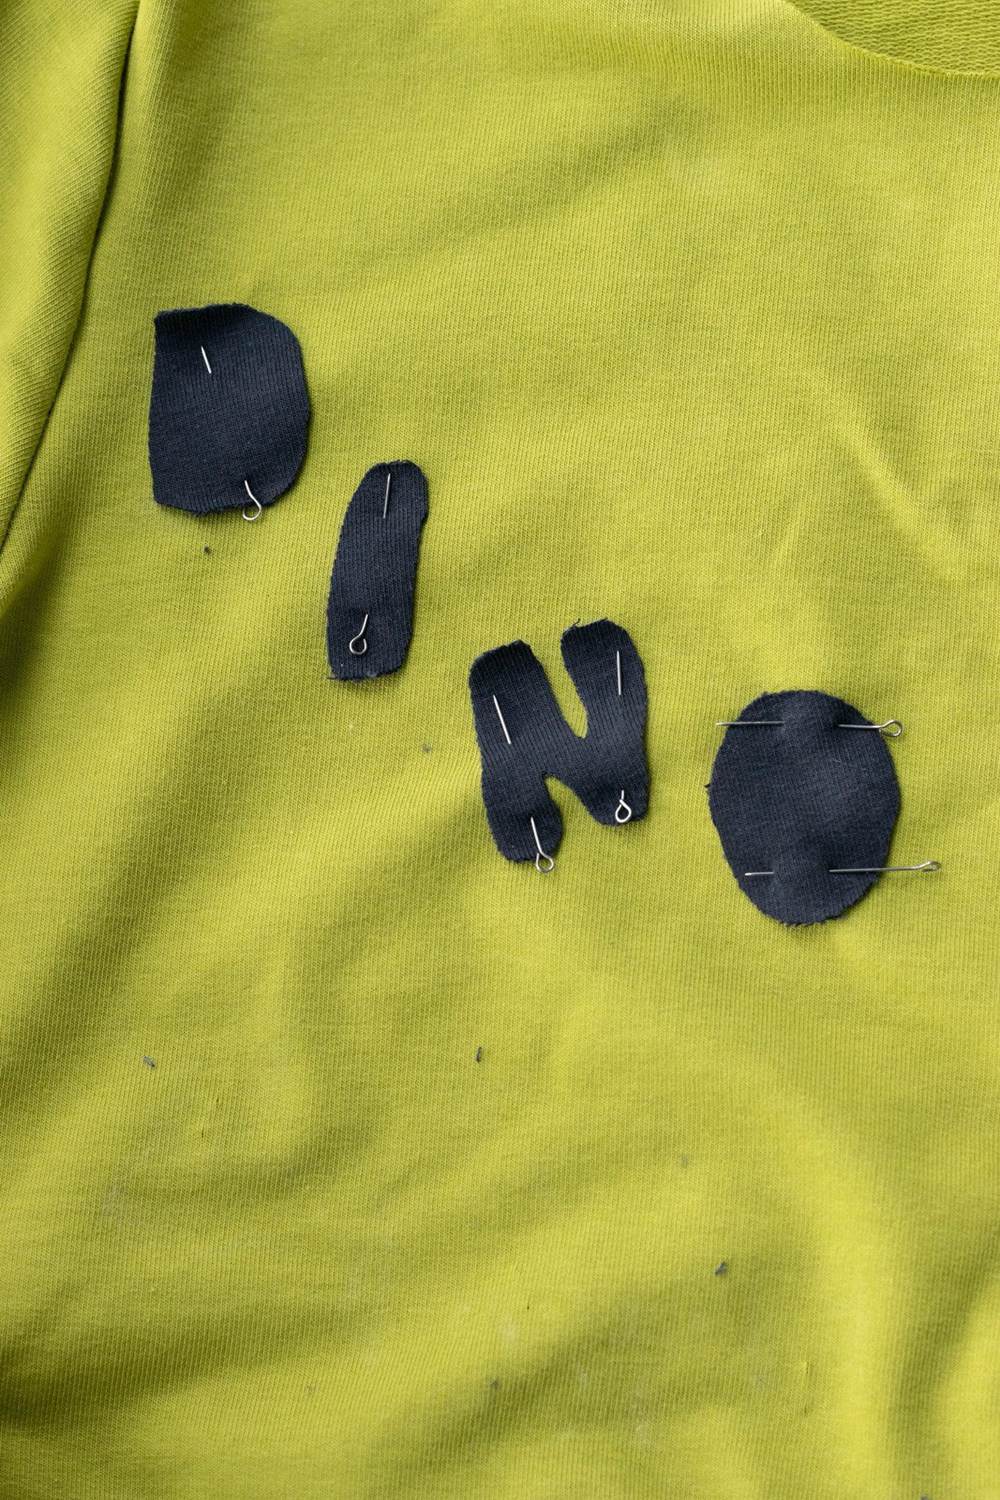
Applique involves stitching fabric shapes like patches onto a background fabric for decorative designs. Here’s how to sew it by machine.
What You’ll Need
- Patch fabric
- Background fabric
- Matching thread
- Applique scissors
- Applique pins
- Sewing machine
Steps
- Cut patch fabric roughly 1/4″ larger than the finished shape.
- Pin patch to background fabric, right sides up. Use applique pins near the edge.
- Sew along raw edge using a tight zig zag, satin, or blind hem stitch, removing pins as you go.
- Trim excess patch fabric just beyond stitching line. Remove any fraying fibers for a clean finish.
- Repeat with additional patches to create an appliqued design!
Tips
- Starching shapes will make applique stitching easier.
- For hand applique, use a blind stitch or topstitch around the edges.
- On clothing, use stitch-witchery webbing around edges to prevent fraying when washed.
11. Patching Denim with a Denim Patch
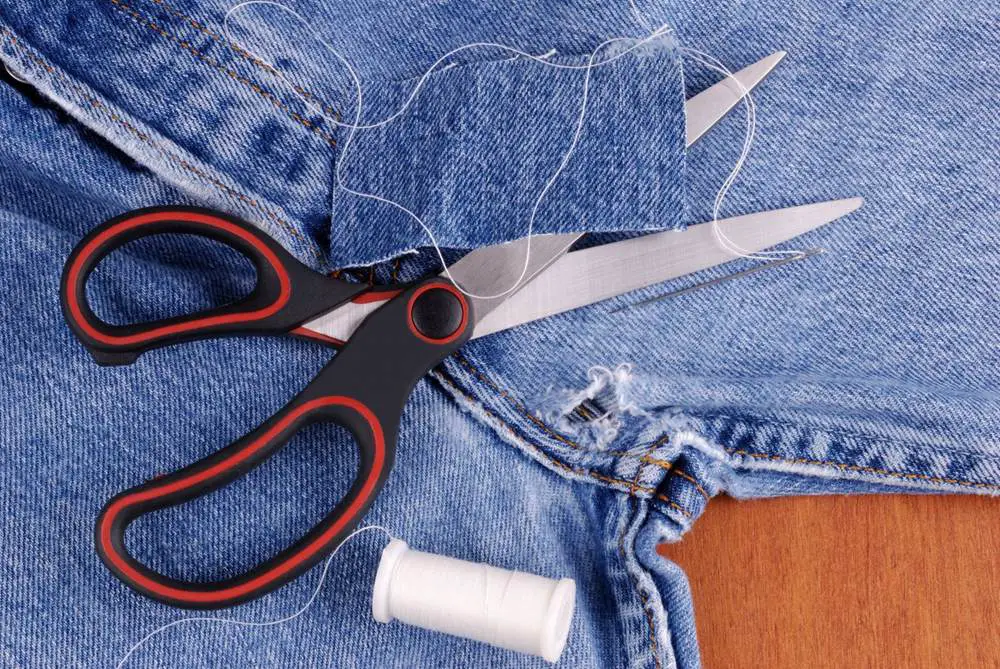
Patching up holes, rips, or worn spots on jeans or denim jackets is easy with a denim patch. Here are some tips.
What You’ll Need
- Denim patch
- Jeans/denim garment
- Denim or upholstery thread
- Needle
- Pins, scissors
Steps
- Cut patch into a square or rectangular shape larger than damaged area.
- Position patch behind hole on inside of garment, aligning grain lines. Pin in place.
- Stitch patch in place with ladder stitch, whip stitch or using a sewing machine.
- Try using contrasting thread and decorative stitches like zig zag or crosses for a custom look.
- For extra reinforcement, consider applying fusible interfacing to the back of patch before sewing.
Tips
- Use a curved needle to easily sew bulky denim layers by hand.
- When machine sewing, increase stitch length to accommodate the thick fabric.
- Finish raw edges with pinking shears to reduce fraying when washed.
12. Sewing Patches on Jackets and Coats
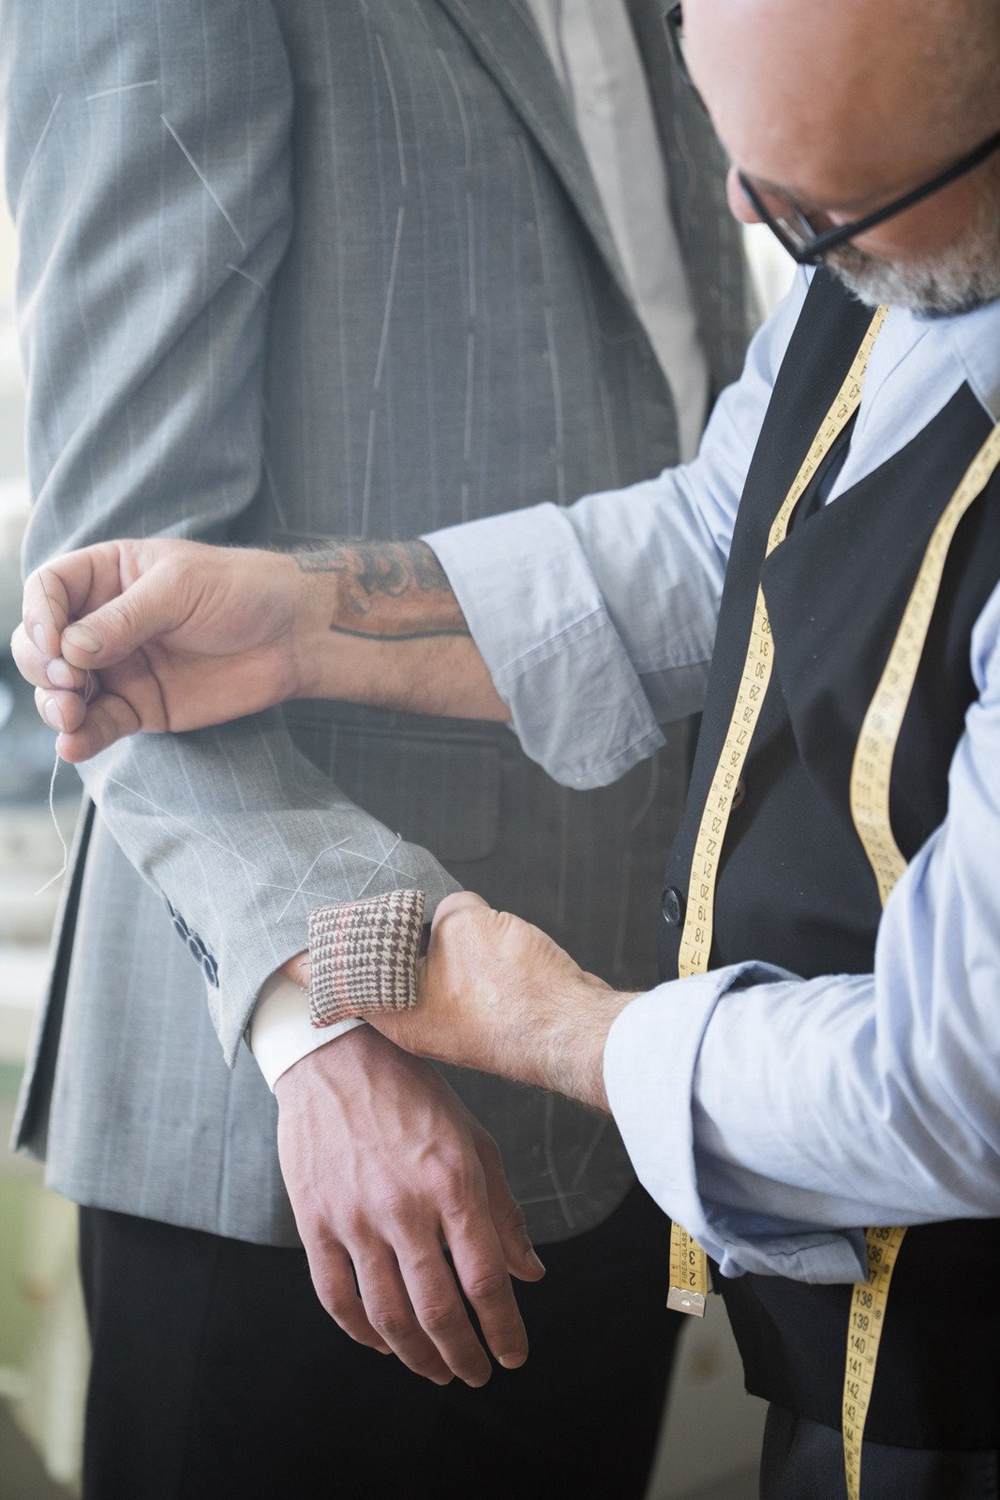
Outdoor gear and heavy fabrics like wool coats can handle decorative patches with a few adjustments to the sewing technique.
What You’ll Need
- Iron-on or fabric patches
- Jacket/coat
- Thick hand-sewing needle
- Heavy duty thread
- Leather punch (optional)
- Sewing awl (optional)
Steps
- Mark placement with tailor’s chalk. Use punch or awl to open holes if sewing by hand.
- For iron-on patches, fuse according to instructions and finish by stitching edges.
- For sewn patches, use small whip or overcast stitches 1/4” from edges.
- Knot thread firmly at the start and finish to secure stitches in thick fabric.
Tips
- Add seam sealant around edges before sewing for improved water resistance.
- Use an awl or hammer/nail to open holes in tough leather jackets.
- For extra strength, stitch an X across the center of large patches.
Frequently Asked Questions About Sewing on Patches
How do I keep a patch from fraying at the edges?
Here are some tips for preventing frayed edges on patches:
- Finish the raw edges using pinking shears to reduce fraying.
- Carefully apply fabric glue or seam sealant around the edges before sewing.
- Sew a zig zag stitch around perimeter to secure raw edges.
- Use finished patches with fused or surged edges.
- With hand sewing, take very small whip stitches close together around edges.
Should I wash the garment before sewing on a patch?
It’s generally a good idea to launder the garment before adding a patch. Washing helps preshrink fabrics and remove sizing or residue so the patch will adhere well. For brand new items, washing first prevents future uneven shrinking. Just make sure to also preshrink your patch!
How do I make a patch less visible?
To make a patch more subtle and discreet, choose a thread color and fabric patch that closely match or blend in with the color of the garment. Stitching with tiny hand stitches along the edges also makes a patch less obvious. You can also try positioning patches strategically in less noticeable areas.
What kind of stitch should I use to sew on a patch by hand?
For hand sewing patches, good stitch options include:
- Whip stitch – provides a secure seam while still being removable. Great for beginners.
- Blanket stitch – creates a decorative edge finish. Nice for visible patches.
- Slip stitch – makes an inconspicuous seam for invisible mending patches.
- Backstitch – provides a very durable, reinforced hand-sewn seam.
Can I machine wash clothes with sewn on patches?
In most cases, yes! Clothes patched with hand or machine stitching can safely be washed in the machine. Take care with delicate patches containing beads, leather, or applique. Reinforce edges with fabric glue or an extra line of stitching and launder on a gentle, cool cycle. Avoid excessive heat.
Air drying is recommended to help patches retain their shape and adhesive. Test new patches for colorfastness first.