Ironing on patches can be a great way to repair damaged clothing, customize jackets and bags, or add decorative flair to fabric items. While it may seem intimidating, ironing on patches is actually quite simple with the right materials and techniques.
In this complete guide, we will cover everything you need to know to successfully iron on patches, including:
- Benefits of ironing on patches
- Supplies needed
- Preparing the fabric
- Ironing techniques
- Tips for best results
- How to iron patches on jackets
- Frequently asked questions
Follow these steps and tips, and you’ll be ironing on perfect patches in no time!
Table of Contents
Benefits of Ironing On Patches
Here are some of the main benefits of ironing on patches versus sewing them on:
- It’s faster and easier – No sewing skills required! Ironing on patches can take just a few minutes.
- ** Creates a seal** – The heat melds the adhesive on the patch to the fabric for a tight bond.
- Even application – The even pressure from an iron helps smooth the patch and adhere the edges.
- ** Doesn’t damage fabric** – Avoid making holes in the material that could weaken its structure.
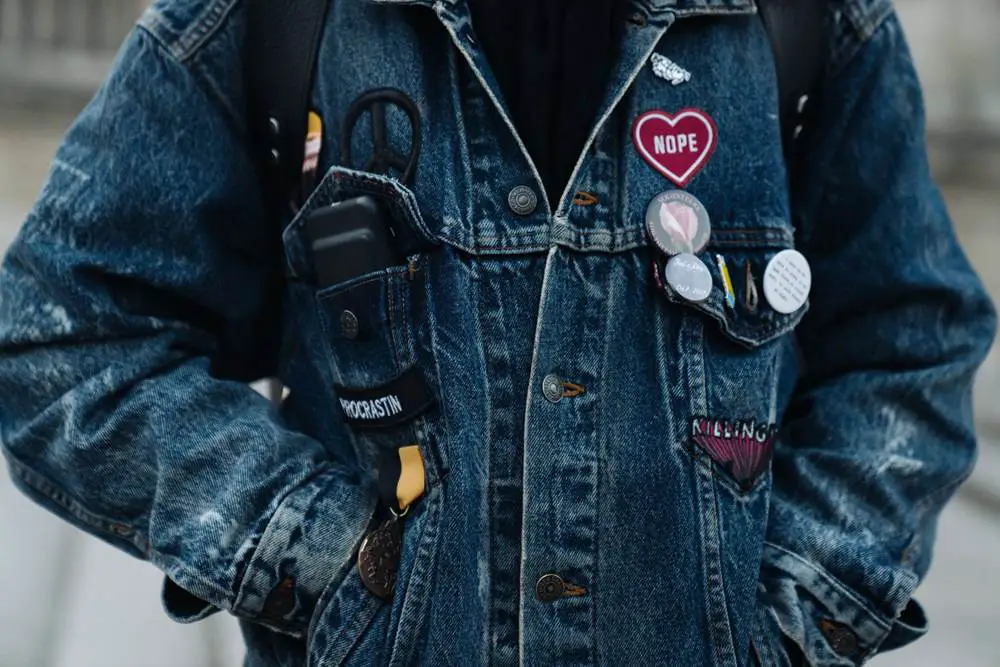
- Adds decoration – Easily customize clothing, bags, crafts by ironing on fun patches.
- Makes repairs – Cover rips, tears or holes with patches to fix your items.
For most small patches, ironing them on is the simplest application method. As long as you follow the right steps, you can achieve professional-looking results.
Supplies Needed
Gather these supplies before you begin:
- Iron – A standard iron set on medium-high heat will work best. Avoid very hot temperatures.
- Ironing board – This provides an even surface for ironing. Use a towel underneath if needed.
- Patches – Make sure any patches are designed for ironing. Look for an adhesive backing.
- Fabric item – Make sure the fabric (and any coating or lamination) can withstand iron temperatures.
- Scissors – For trimming patch edges once applied.
- Measuring tape – Useful for centering patches or aligning patterns.
- Pin backs – For attaching iron-on patches to coats, bags and more so they can be removed.
- Press cloth – An old cloth to place over the patch when ironing.
Preparing the Fabric
Before ironing on your patch, proper preparation is key:
Clean the Area
Make sure the fabric item is clean. Use soap and water to wash the area where the patch will be applied. Rinse and let it fully dry. This allows the adhesive to stick properly.
Iron the Fabric
Iron over the entire area where you’ll place the patch. This removes any wrinkles, shrinkage or creases. Let cool before positioning the patch.
Mark Placement
Decide on patch placement and use a fabric marker to lightly mark the center or corners so you know where to align it. Measure for symmetry.
Cut Away Loose Threads
Trim any loose threads, strings or lint around the area so the patch will lie flat.
Preparing the fabric helps the patch adhere smoothly and permanently once ironed on. Take your time at this stage for best results.
Ironing Techniques
Follow these key steps when ironing on a patch:
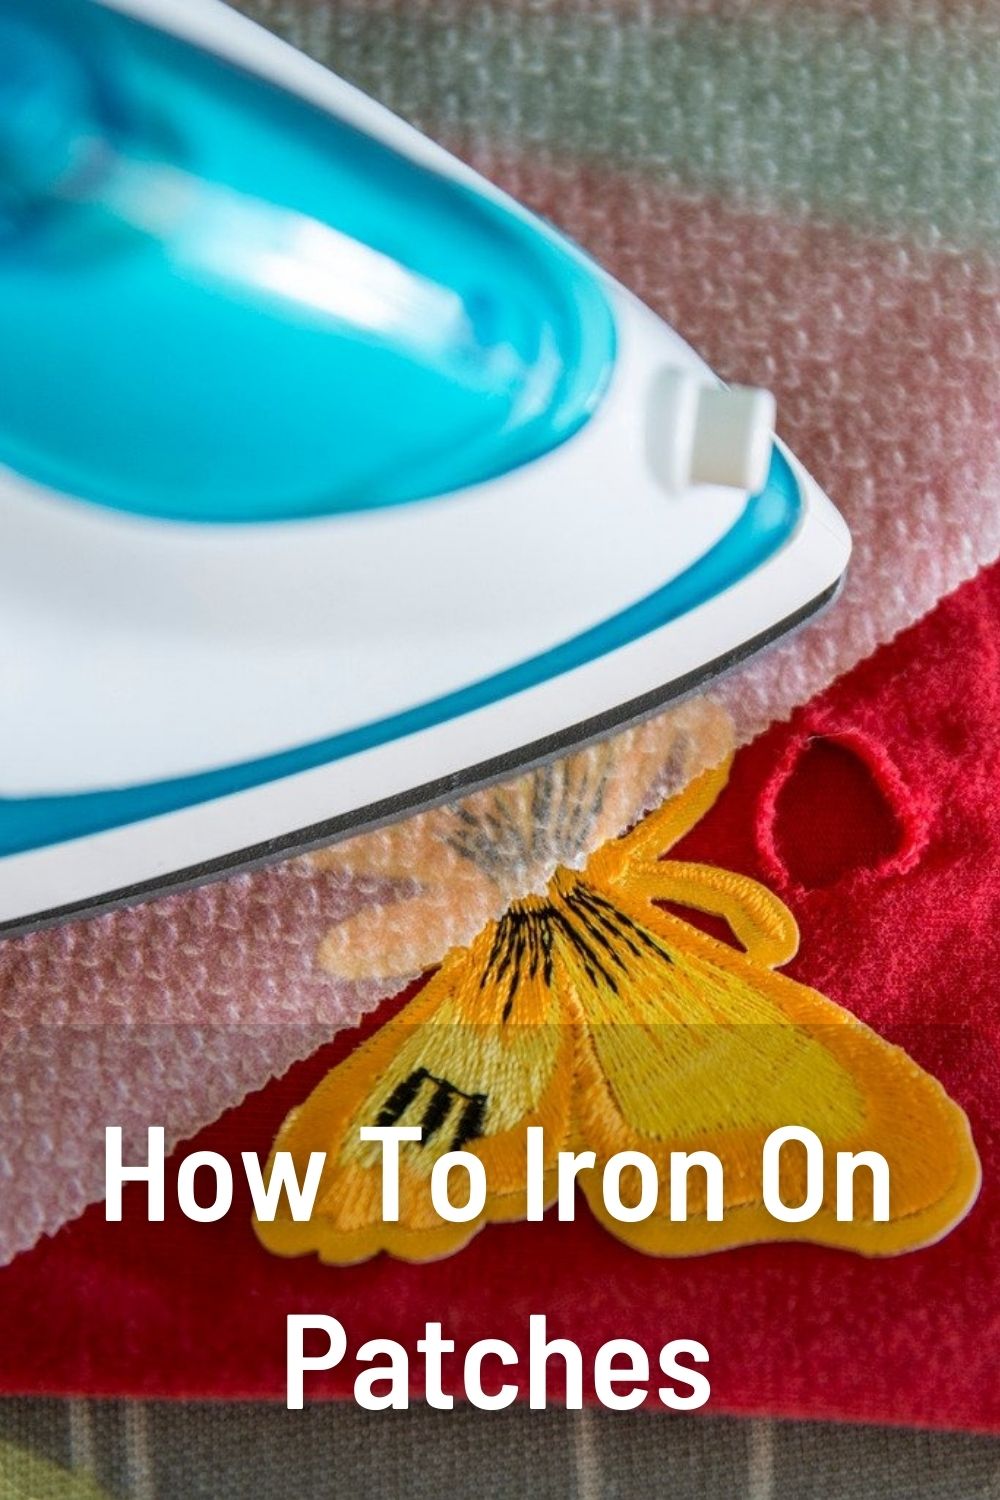
Prepare the Patch
Place patch print-side down on the ironing board. Follow package directions to remove any plastic covering or paper backing to expose the adhesive side.
Position the Patch
Place the patch adhesive-side down on the fabric item in your marked position, smoothing to adhere.
Place Press Cloth
Put a scrap cloth or tea towel over the patch. This protects the surface from direct heat damage.
Iron Over Patch
Using firm, even pressure, gently iron back and forth over the area of the patch, keeping the iron moving. Apply heat 1-2 minutes.
Let Cool
Once you’ve ironed thoroughly, let the patch cool for 5 minutes before handling so the adhesive sets.
Check Bond
After cooled, check adhesion by gently lifting one corner of the patch. Press down again if needed.
With these proper ironing techniques, your patch will form a strong, lasting bond to the fabric.
Tips for Best Results
Follow these tips and tricks for perfectly ironed on patches:
- Start on a test swatch before working on your actual item.
- Use a lower temperature setting for delicate fabrics like silk or synthetic blends.
- For large patches, iron section-by-section, reheating between each area.
- Don’t slide the iron around, which could loosen the glue. Lift and press instead.
- If the patch isn’t sticking, apply more pressure or reheat it.
- Once cooled completely, trim any patch edges that are lifting up with scissors.
- Wash the fabric item gently by hand or on delicate cycle before wearing to further seal the patch.
- For frequently washed items, also sew around the edges of the patch for extra hold.
Take it slow and steady. With some trial and error, you’ll get the hang of perfectly ironing on patches of all sizes to enhance your garments, bags and other fabric items.
How to Iron on Patches to Jackets
Jackets are a prime surface for ironing on fun, decorative patches. Follow this special process for getting patches to properly adhere to jacket materials.
Prepare the Jacket
- Wash and fully dry the jacket. This removes any coatings that could impede adhesion.
- Iron the jacket section where patch will go to smooth fabric.
- Use short strokes following seam lines to avoid damaging lamination.
Arrange Patch Layout
- Mark measured spots for balanced patch placement. Arrange patches before ironing.
- Start ironing at the bottom, working up when adding multiple patches.
Use Pressing Cloth
- Place cotton pressing cloth over each patch before ironing.
- Use an up-and-down motion over sections for 5 seconds at a time.
Iron Backing Too
- Once patch is adhered, also iron over the full backside of the patch, still covered by cloth.
Let Cool
- Give jacket time to fully cool before wearing or washing. This allows best seal.
With the right preparation and ironing technique, your custom jacket patches will look professionally applied. Be creative with patches, or repair damaged spots – ironing them on is the best option for jacket fabrics.
Frequently Asked Questions
Here are answers to some common questions about ironing on patches:
What fabrics can be used?
Patches can be ironed onto most types of fabric except suede, leather or vinyl. Common fabrics include cotton, poly-cotton blends, canvas, denim, twill and lightweight jackets/outerwear.
How do I know which side to iron?
The adhesive side of the patch should face down against the fabric you are patching. The printed design side should face up. Always do a test first.
What temperature should I set the iron to?
Use a medium-high setting between 300-350°F. Start lower if working with delicate or synthetic fabrics. Higher heat may damage fabrics.
How long should I iron the patch on?
Iron for 1-2 full minutes over the entire patch to fully activate adhesive. Reheat and iron again for extra hold if needed.
What kind of iron is best?
A basic steam iron with a smooth, flat metal plate works best. Avoid irons with extra steam holes that could leak onto patches.
Can you remove and reposition patches once ironed?
It’s very difficult to remove an ironed patch without damaging the fabric underneath. Position carefully the first time before ironing it permanently in place.
Conclusion
Ironing patches onto clothing, bags and craft items provides a quick, simple way to repair, customize or embellish your fabrics. With the proper preparation, materials and technique outlined here, you can neatly and securely apply patches in just minutes using your household iron.
Experiment with ironing different patch sizes, shapes and designs onto your favorite garments and accessories. In no time, you’ll be a pro at ironing on the perfect patches to give your items more personality and flair.