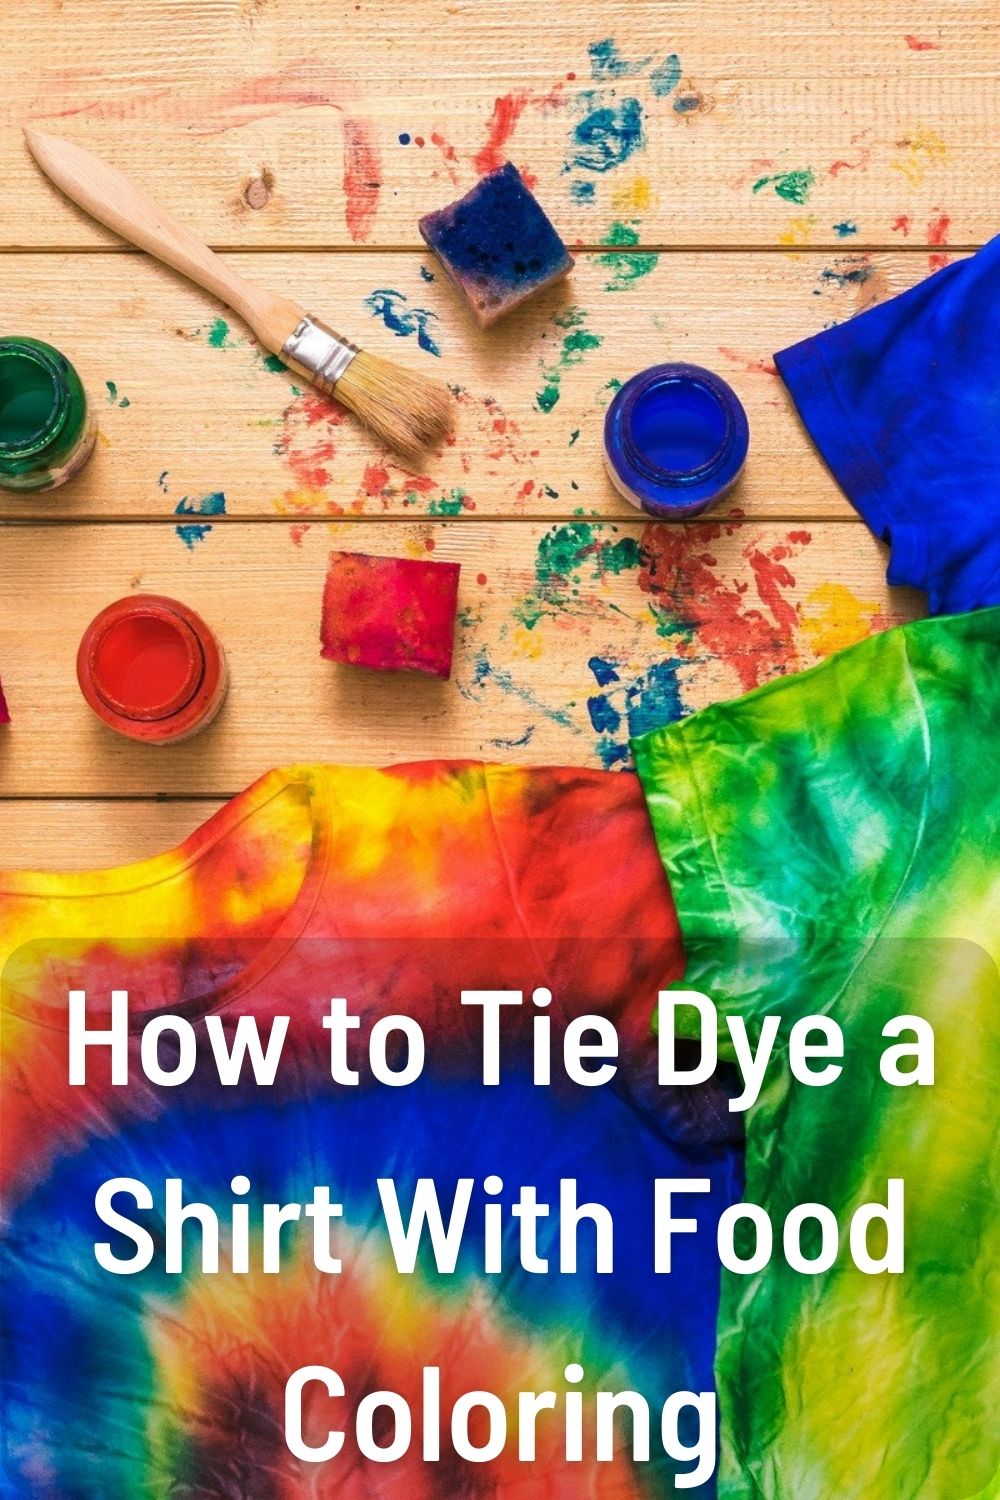
Tie dyeing is a fun and creative way to transform plain shirts and other clothing into vibrant, colorful works of art. While traditional tie dyeing uses special dyes, you can easily achieve beautiful tie dye patterns at home using common household ingredients – food coloring!
Food coloring is inexpensive, readily available, and comes in a rainbow of colors perfect for making eye-catching tie dye designs. With a few simple supplies and easy techniques, you can tie dye shirts and other items with ease using food coloring.
In this complete guide, you’ll learn everything you need to know about tie dyeing with food coloring, from choosing supplies and fabric to tying techniques and applying the dye. Let’s get started!
Table of Contents
Supplies Needed for Tie Dying with Food Coloring
Tie dyeing with food coloring doesn’t require many supplies – you likely already have most of what you need at home. Here are the basic supplies you’ll need:
Fabric
-
Natural fabrics work best for tie dyeing, as they absorb the dye well. Good options include:
- Cotton shirts, socks, bandanas, etc.
- Linen or cotton/linen blend items
- Rayon or bamboo blended fabrics
-
Pre-wash the fabric before dyeing. This removes any sizing or coatings that could interfere with dye absorption.
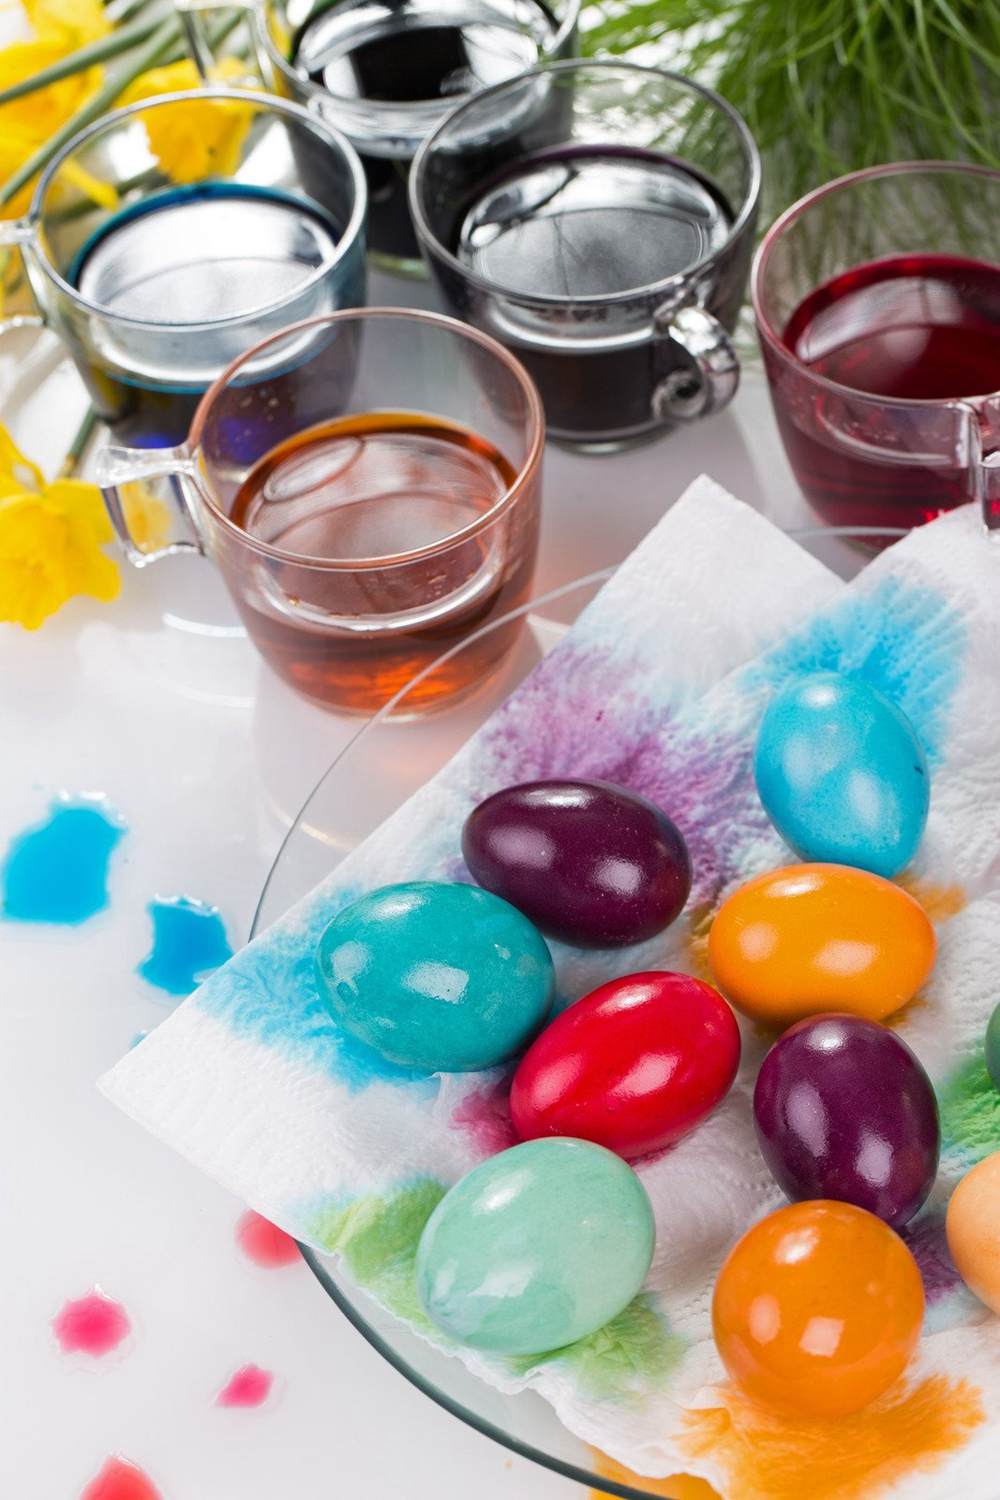
Food Coloring
- Liquid food coloring works better than gel. Look for high-quality food colors with intense pigments.
- Aim for at least 4-6 colors for variety. Good starter colors are red, blue, yellow, green, purple and orange.
- Food coloring will only produce pastel shades on fabric. For darker/brighter colors, use special procion dyes.
Dye Fixative
-
A dye fixative helps bond the food coloring to the fibers so the dyes remain colorfast. Good options include:
- White vinegar
- Salt
- Clear soda (like lemon-lime soda)
Rubber Bands or String
- Used to tightly tie bundles of fabric during the dyeing process. This creates the trademark tie dye patterns and designs.
- Rubber bands work best for shaped tie dye bundles. String or twine can be used to create spiral patterns.
Plastic Gloves
- Protect your hands from stains during dye application. Disposable gloves work great.
- Optional – Use a dyeing apron or old clothes to avoid drips and splatters.
Squeeze Bottles
- Useful for directly applying dye to folded and twisted fabric shapes. Easy to control dye flow.
- Recycled condiment bottles work perfectly.
Plastic Bags or Containers
- Dye the fabric in sealable plastic bags or plastic containers with lids. This contains the mess.
- Large zipper bags, plastic bins, etc. are ideal dye vessels.
That covers the basic supplies! Now let’s look at how to prepare your fabric for tie dyeing with food coloring.
Preparing Fabric for Tie Dye
Properly preparing your fabric is an important first step for successful dyeing results:
Washing
- Always pre-wash your fabric in hot water before tie dyeing. Use detergent and NO fabric softener.
- Washing removes sizing, dirt and other coatings that could block dye absorption.
Drying
- Air dry the wet fabric or tumble dry on low heat before dyeing. Do NOT use dryer sheets – they can prevent dye absorption.
Ironing (Optional)
- Ironing your fabric before tying and dyeing can help make sharper, more defined patterns. The creases from folds/twists hold better.
- Use the highest heat setting appropriate for your fabric.
Now the fabric prep is done and it’s time for the fun part – tying your shirts and fabrics into beautiful patterns!
Techniques for Tying Fabric Before Dyeing

Tie dyeing gets its name from the tying, twisting and folding techniques used to manipulate the fabric before dyeing. This creates gorgeous patterns, designs and visual effects.
Here are some easy tying methods for beginners:
Spiral Pattern
- Lay out the dry fabric flat. Place a object like a dowel or broom handle at the center.
- Tie one end of a long string around the object. Wrap the string tightly around the fabric in a spiral pattern going outwards.
- Secure the other end of the string once the spiral covers the fabric.
- The spiral patterning will resist the dye and create striking visual designs.
Stripes and Lines
- Fold the fabric lengthwise into a long strip. Use rubber bands to tightly tie-off evenly spaced sections along the length.
- This will create parallel lines or stripes in the finished design. Vary the width between ties for different effects.
- For zig-zag or angled lines, bind at different angles instead of straight across.
Circles and Dots
- Gather small bunches of fabric and tightly tie off using thin rubber bands or string. Space out dots randomly or in patterns.
- The tightened bundles will resist dye penetration, leaving striking circles and polka dot shapes.
- For spiraled dots, twist each bundle before tying for a flower-like effect.
Diagonal Folds
- Fold the fabric corner-to-corner diagonally into a triangle shape. Fold it in half again, forming another triangle layer.
- Press creases firmly, then accordion fold the material along those diagonal lines.
- Secure folds tightly with rubber bands at regular intervals. Dramatic zig-zag patterns will result.
- For more triangular shapes, fold into square or rectangular shapes instead of diagonally.
There are endless ways to twist, tie and fold fabric – get creative with your patterns! Now it’s time to mix up some colorful dyes.
Mixing Food Coloring for Tie Dye
Mixing your own dye colors using primary food colorings allows nearly endless color combinations.
Here are some tips for mixing dye:
- Use disposable cups, bowls or squeeze bottles for mixing. Metal bowls or utensils can degrade colors.
- Start with a 1:1 mix of food coloring and fixative like vinegar or soda. For darker shades, use more dye than fixative.
- Combine 2 parts yellow + 1 part blue to make green. Mix red + blue for purple. Red + yellow makes orange.
- Add white vinegar a few drops at a time to lighten a color mixture.
- Make enough colored dye to thoroughly saturate the amount of fabric you are dyeing. More dye is better.
- Stir well each time you add a new color or ingredient.
Once your dye colors are mixed, it’s time for the fun part – applying the dye!
How to Apply the Dye
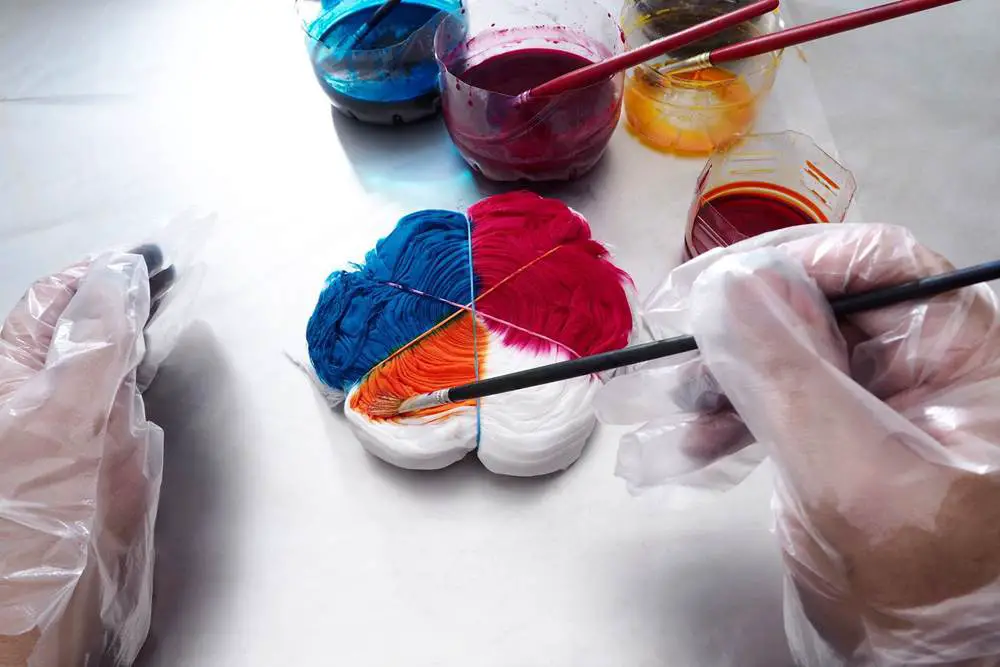
With your fabric tied and dye colors prepped, dye application is easy. Here is the basic process:
Cover your work area
- Protect surfaces from drips and splashes by covering with newspaper, plastic sheets, tarps, etc. Wear old clothing.
Put on gloves
- Wear latex or rubber gloves to protect your hands from stains.
Dampen the tied fabric
- Wet the twisted and tied fabric with water first so it absorbs dye better. Wring out excess moisture.
Apply dye colors
- Place the flattened fabric inside a plastic bag. Spoon dye directly onto the fabric, or transfer to condiment bottles for controlled pouring or squirting.
- Thoroughly saturate all areas of the tied fabric, especially the creases, folds and bundle ties.
- Turn fabric over and saturate back side also. Add more dye as needed – use plenty for vivid results.
Re-seal the plastic bag
- Remove excess air and re-seal the plastic bag containing the saturated fabric. This minimizes oxygen exposure for better dye bonding.
- Squish bag gently to evenly distribute colors and coat all areas.
Allow time to absorb
- Let the dyed fabric soak in the sealed bag for at least 6-8 hours, up to 24 hours. Gently agitate periodically.
- For sink or bucket dyeing, soak 30-60 minutes, agitating frequently.
Now comes the big reveal – time to untie and unveil your design!
Rinsing, Untying and Revealing your Tie Dye Creation
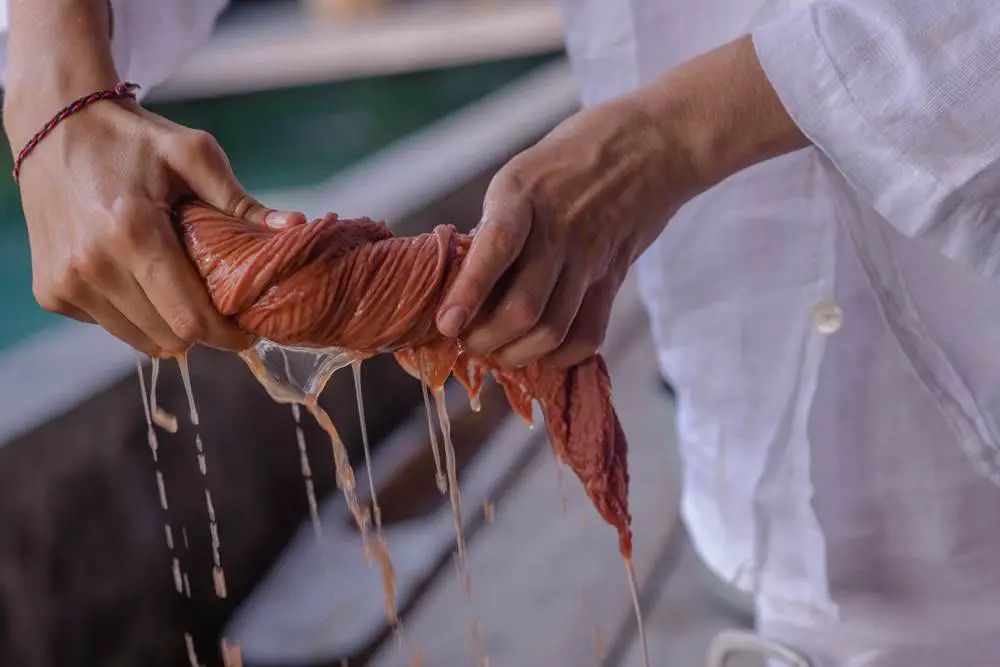
After allowing time for the dyes to fully absorb into the fibers, follow these steps for the final rinse and reveal:
Rinse thoroughly
- Wearing gloves, remove fabric from the dye bag and hold over a sink. Rinse with cool running water, changing water often, until it runs clear.
- This removes any excess, unbonded dye pigment.
Gently untie
- Untie rubber bands or strings gently. Avoid pulling too hard or the colors may smear.
Wash separately
- Wash the tie dyed item by itself using mild detergent and NO bleach. This prevents dye transfer to other items.
- Wash in cold water for the first 1-2 cycles to preserve colors.
Admire your work!
- Once washed and dried, the finished tie dye creation is ready to wear and show off!
With some creativity and practice, you can make amazing tie dye designs using basic household food coloring. Try different shape patterns, color combinations and fabric types for endless variety.
Now that you know the essential techniques, let’s look at some helpful troubleshooting tips.
Common Questions and Troubleshooting
Here are answers to some frequently asked questions and troubleshooting advice for tie dye projects with food coloring:
How do I achieve brighter, more vivid colors?
- Use more dye. The intensity comes from the amount of pigment deposited.
- Buy high-quality food gels with concentrated color pigments. Avoid ‘natural’ low-dye varieties.
- Boost brightness by adding a bit of an intensifier dye, like royal blue or chocolate brown.
Why are my colors bleeding or muddy?
- Too much manipulation or agitation during dyeing can cause colors to bleed together. Handle gently.
- Ensure fabric is thoroughly rinsed after dyeing to remove excess pigment.
- If a true black color is desired, dye black LAST after all other colors.
How do I make designs show up better?
Tight tying and folding is key. The more compressed the folds and tied areas, the better the designs resist dye penetration.
How can I achieve better colorfastness?
- Use a fixative like vinegar or salt in the dye bath to improve bonding.
- Avoid bleach when laundering to preserve colors. Wash in cold water.
- Test colorfastness by washing a swatch before doing a large batch.
With a bit of troubleshooting and practice, you’ll be making beautiful, vibrant tie dye creations from food coloring in no time!
Conclusion
Tie dyeing with food coloring is an easy, accessible way to transform plain clothing and fabrics into wearable works of art. With some simple supplies, tying techniques, and color mixing know-how, anyone can make stunning designs.
It’s a great craft for all ages – fun for kids’ projects but with endless sophisticated possibilities too. Grab some white t-shirts and food coloring and let your creativity run wild! Dyeing fabric yourself gives beautiful, one of a kind results you can’t find in stores.
We hope this guide gave you all the information you need to start brightening up your world with vibrant tie dye. Happy dyeing!
Frequently Asked Questions
Here are answers to some common questions about tie dyeing fabric with food coloring:
How long do the colors from food coloring tie dye last?
The colors can last through many washes if you use a fixative like vinegar or salt in the dye bath. Avoid using bleach when washing, as this fades colors. Washing in cold water also helps preserve the vibrancy.
What kinds of fabric can I use food coloring to tie dye?
Natural fabrics like cotton and linen absorb food coloring best. You can also use rayon, hemp, or bamboo blends. Stay away from synthetics like polyester that resist dye absorption.
Is it safe to tie dye clothes with food coloring?
Food coloring is non-toxic and safe even for kids. The only precaution needed is wearing gloves during the dyeing process to avoid stained hands.
What’s the difference between using food coloring vs special fabric dye?
Food coloring produces paler, pastel-like shades on fabric compared to intensive special dyes. But the effect can still be gorgeous! For deeper colors, use more food coloring or opt for procion dyes.
What if I don’t have rubber bands to tie the fabric? What can I use instead?
You can substitute yarn, string, twine or even strips cut from an old t-shirt. Anything you can tightly tie around the fabric bundles will work. Get creative!