Tie dyeing bed sheets is an enjoyable way to add a burst of color and personality to your bedroom. With some simple supplies and techniques, you can easily transform plain white linens into vibrant works of art. In this comprehensive guide, we’ll provide everything you need to know to make your own custom tie dyed bed sheets, from choosing supplies to tying creative patterns and properly caring for your dyed linens. Read on for pro tips to create stunning results.
Table of Contents
Gather Your Tie Dye Supplies
To get started, you’ll need to gather a few basic tie dyeing supplies:
Dyes
Select fiber reactive dyes specifically intended for natural fabrics like cotton, linen, rayon, and hemp. These dyes permanently bond with the fibers for bright, long-lasting color that won’t fade or bleed over time. Here are some top options:
- Tulip One-Step Tie Dye – Pre-mixed liquid dyes in a range of vivid neon and primary colors. Very easy to use.
- Jacquard DyeNaFlow – Concentrated liquid dyes that mix beautifully for endless color combinations.
- Dharma Trading Fiber Reactive Procion Dyes – Vibrant powder dyes that must be dissolved before applying. Wide range of colors.
Avoid using household dyes like RIT or food coloring, as these are not fiber reactive and will not set properly on bed sheets.
For the best results, choose dyes in primary colors like red, yellow, and blue. Mixing colors together often results in muddy brown shades.
Fabric
- 100% cotton or cotton blend sheets work best, as the fibers readily absorb dye. Flannel and jersey cotton sheets dye especially well.
- Linen or rayon sheets can also be tie dyed with fiber reactive dyes. Avoid polyester blends, which do not absorb dye.
- Opt for white or pale sheets so the vibrant dyes show up clearly.
- Wash sheets before dyeing so they have shrunk as much as possible.
Other Handy Tie Dye Accessories
- Rubber bands or zip ties for tightly binding off sections
- Plastic gloves to protect your hands from stains
- Squeeze bottles for controlled dye application
- Plastic drop cloths to cover work surfaces
- Masking tape to secure sheets for dyeing
- Buckets or bins for mixing dye baths
- Old rags and towels for clean up
Step-By-Step Tie Dyeing Process
Once you’ve gathered supplies, follow these simple steps for foolproof results:
1. Soak the Bed Sheets
- Fill a sink, tub, or large bucket with warm water.
- Fully submerge sheets and allow to soak for 15-20 minutes.
- This pre-soak allows the cotton fibers to absorb dye more evenly for uniform saturation.
2. Wring Out Excess Water
- After soaking, lift sheets from the water and wring out thoroughly to remove excess moisture.
- Sheets should be damp but not overly dripping wet.
3. Tie or Twist Sheets Into Patterns
- Lay sheets flat and start tying off sections with rubber bands or zip ties. See below for tying ideas.
- You can also twist sheets tightly into spirals, circles or squiggly lines.
- Use your fingers to scrunch and crumple small areas for texture.
- Tight tying and compressing create blank “canvas” areas that resist dye absorption.
4. Prepare Dye Baths
- Mix up dye colors in squeeze bottles following package directions.
- For the brightest results, use very hot 130°F water and mix powder dyes in double strength concentrations.
- Arrange bottles for easy access while dyeing. Line up buckets or bins to hold extra dye mixtures.
5. Apply Dye Directly to Sheets
- Lay sheets inside your prepared plastic-covered work area. Wear gloves and old clothes!
- Generously squirt dye colors directly onto the folded, tied and bound sheets.
- Apply colors next to each other for bleeding, blended effects.
- Fully saturate all areas of the fabric, front and back.
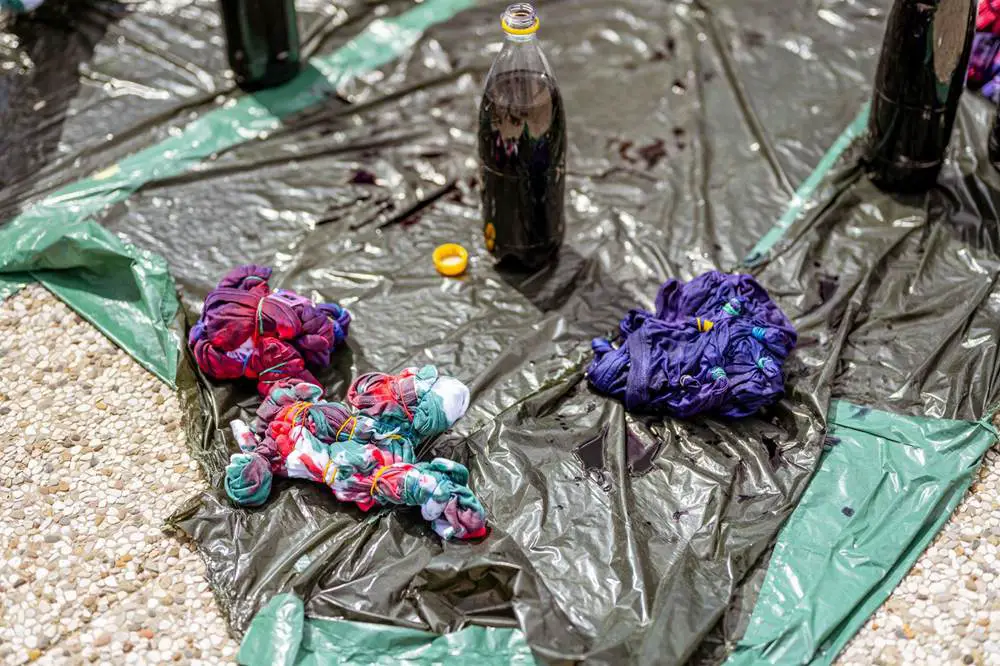
6. Seal in Plastic Bag to Cure
- Place the dyed sheets inside a plastic bag, removing excess air.
- Let sheets cure for 6-24 hours before rinsing. Curing allows dye to fully bond with fibers.
- For best results, cure sheets in a warm spot like a sunny window or oven set to the lowest temp.
7. Rinse Until Water Runs Clear
- After curing, rinse sheets thoroughly in cool water until all traces of excess dye have been removed.
- Agitate sheets to release any remaining unbonded dye.
- Remove all rubber bands – colors should remain vividly bound to the fibers.
8. Wash and Dry
- Machine wash tie dye sheets separately in hot water with a color-safe detergent. This further sets the dye.
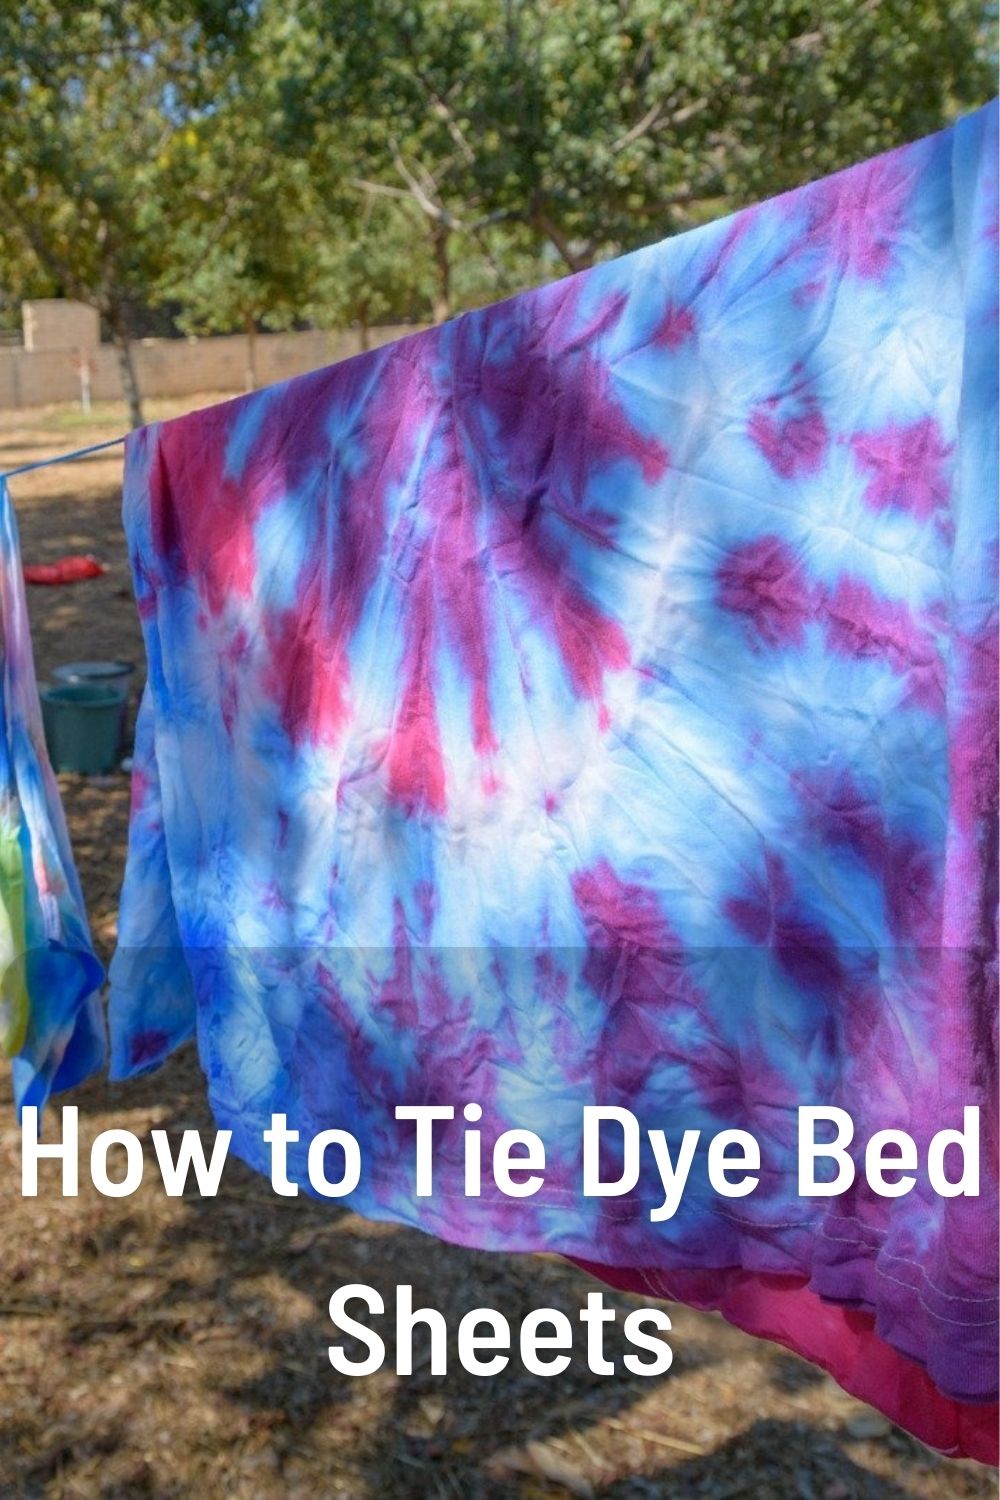
- Tumble dry on low or hang sheets on a line to dry.
- Wash new tie dye sheets separately the first few washes as residual dye may run.
Follow these steps precisely for bright, wash-fast tie dye bed sheets every time. Now let’s look at how to tie or scrunch sheets into creative patterns…
Tying Ideas for Cool Patterns
Tie dyeing allows for endless creativity. Try out these classic patterns for impressive results:
Spirals – Twist sheets into a loose spiral shape. Pinch the spiral and bind tightly with rubber bands to create striped sections. Dye each section a different color.
Stripes – Fold sheets accordion-style and bind off stripes along the folds using rubber bands every 2-3 inches. Dye the stripes alternating colors.
Concentric Circles – Pinch sheets into a small center circle, then bind around the edges. Make a wider circle around that, binding again along the edges. Repeat for more rings. Dye each ring a different color for a bullseye effect.
Crinkles – Scrunch up small sections of the sheets into tight wads, then secure with rubber bands. The crumpled areas will resist dye absorption for a peekaboo tie dye effect.
Stars – Fold sheets corner-to-corner to make triangles. Bind the two sides together tightly with bands. Dye the exposed corners different colors for a starburst pattern.
Checkerboard – Fold sheets into a grid of small squares. Bind along the folds, then dye alternating squares different colors.
Let your creativity run wild! Layer colors, overlap dye areas, and combine patterns for stunning results.
Pro Tips for Vibrant, Vivid Color
Follow these expert tips and tricks for vivid, professional looking tie dye:
- Soak sheets well before dyeing – wet fibers absorb color better. Wring out just enough moisture so sheets are fully damp but not dripping.
- Tightly bind all edges and areas you want to resist dye. Loose ties lead to bleed under bindings.
- Generously apply dye right from the start for instant saturation. Skimping on dye results in lackluster faded tones.
- Layer complementary colors next to each other, like red + yellow or blue + purple to get secondary shades.
- Cure sheets in a warm (not hot) spot. Heat helps dye molecules bond permanently to the fibers.
- Rinse well after curing until water runs completely clear. Set dye by washing first in hot, then cold water.
- Avoid bleach when washing, as it reacts adversely with dyes. Use color-safe detergent.
With some simple supplies, safety precautions and these handy techniques, you can dye bed sheets at home with dazzling, vibrant results that rival professional tie dye.
Step Up Your Game with Ice Dyeing
Once you’ve mastered the basics, try ice dyeing for even more visual interest and texture.
Ice dyeing introduces ice to the traditional tie dye process. The melting ice leaves white splotches and patterns against the dyed fabric for a cool marbled effect.
To ice dye sheets:
- Soak, drain and tie sheets following the traditional tie dye steps above.
- Scatter cube ice, crushed ice or ice pops over the wet fabric before applying dyes.
- Generously apply dye colors around and over the top of the ice.
- As the ice melts, it resists absorbing the dye, leaving white organic shapes in the finished design.
- Cure and rinse the sheets as normal. The melting ice helps move and blend the colors in unique ways.
Ice dyeing takes tie dye designs to the next level. Try it once you’ve gotten the basics down!
Caring for Your Tie Dyed Sheets
Follow these tips to keep your hand dyed sheets looking vibrant for many washes:
- Always wash tie dye sheets separately from other linens, especially on the first few washes, as excess dye may run.
- Wash in cold water using a dye-safe detergent. Avoid bleach and oxidizing agents!
- Hang sheets to air dry or tumble dry on low heat to avoid fading.
- To refresh faded sheets, re-dye them in a bucket following the original dye process. The new dye will bond to the existing color.
- Iron sheets inside out on low heat to avoid scorch marks.
Take good care of your hand dyed linens and they’ll retain their vibrant colors for years to come! Tie dyeing is an enjoyable way to express yourself through color and fabric. Change up your bedroom decor anytime by creating brand new tie dyed sheets. Sweet dreams on your beautiful handmade bedding!
Frequently Asked Questions
What’s the difference between RIT and fiber reactive dyes?
RIT dyes are meant for synthetic fabrics and won’t bond permanently to natural fibers like cotton and linen. Fiber reactives chemically bond with the molecules in plant-based fabrics for long-lasting wash-fast color.
Can I tie dye polyester sheets?
You won’t achieve bright, lasting results. Polyester is essentially plastic-based and does not absorb dye in the same way as natural fabrics. Stick to 100% cotton or linen sheets for best results.
How much dye do I need per sheet?
For solid neon colors with full saturation, plan on using 2-4 ounces of liquid dye or 1-2 tablespoons of powder dye per standard twin/full sheet. It’s better to mix up more than you need rather than run out halfway through your project.
What if my sheets have sizing in them?
Many new sheets have sizing, a chemical treatment applied to give a crisp feel. Sizing can prevent dye absorption. Check the tags and wash sheets a few extra times before dyeing to remove any chemical coatings.
Can I tie dye sheets different colors on each side?
Absolutely! Dyeing the front and back different colors creates a fun reversible effect. Just be sure to saturate both sides fully for even penetration.
We hope these detailed instructions give you the confidence to create stunning tie dyed bed sheets from the comfort of home. This easy art technique allows you to wake up surrounded by your own handmade works of art. Tie dyeing is also a joyful group activity for both kids and adults. Gather some friends and sheets, turn up your favorite music, and have fun getting colorful!