
Non-iron or wrinkle-free shirts have become increasingly popular in recent years. As the name suggests, these shirts are treated with chemicals so they resist wrinkles and can maintain a crisp look even after wearing and washing. This eliminates the need for ironing in many cases.
However, there are times when you may still want to touch up your non-iron shirts with an iron. In this complete guide, we’ll discuss when and how to iron non-iron shirts.
Table of Contents
When Should You Iron a Non-Iron Shirt?
There are a few instances when ironing a non-iron shirt can be beneficial:
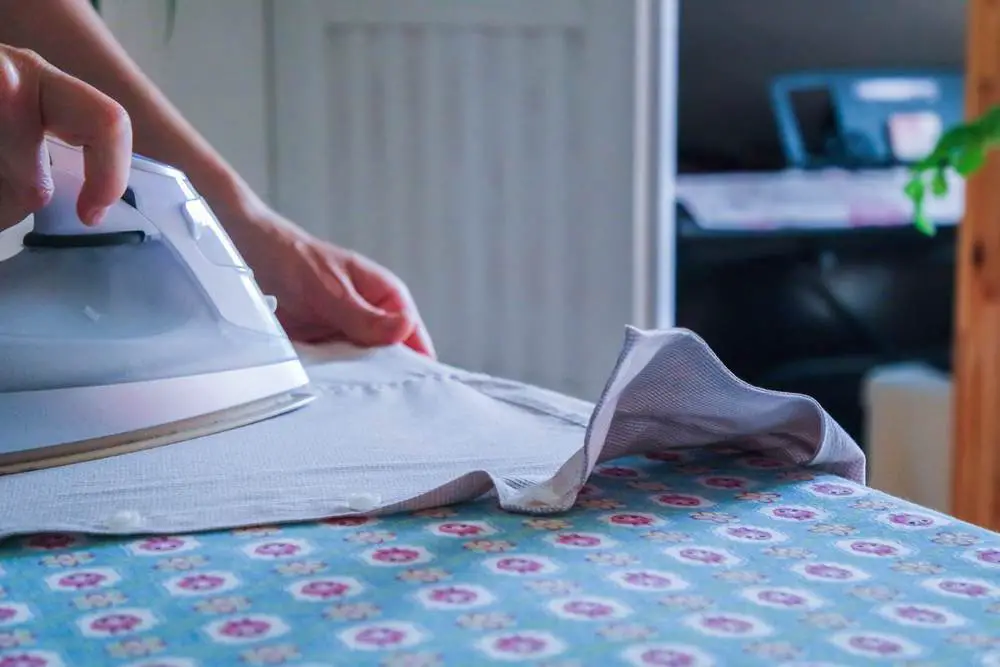
1. To Remove Minor Wrinkles
While non-iron shirts are engineered to resist wrinkles, they may still develop minor creases with wear and washing. A quick touch up with an iron can smooth out these wrinkles. Focus on areas that are prone to wrinkling like the collar, cuffs, and placket.
2. Before First Wear
Brand new non-iron shirts often arrive slightly wrinkled from packaging and shipping. Give them a quick once-over with an iron to make them look their best for the first wear.
3. For a Crisp, Formal Look
For occasions when you want an extra sharp, formal look like a job interview or important business meeting, ironing can give non-iron shirts an extra layer of crispness.
4. After Air Drying
Non-iron shirts maintain their wrinkle-free properties best when machine dried. If you air dry them, ironing will help smooth away any wrinkles that developed during drying.
5. To Touch Up Collars or Cuffs
The collar and cuffs take a lot of abuse and are prone to bending during wear. Iron these areas as needed to keep them looking neat.
How to Iron a Non-Iron Shirt
Ironing non-iron shirts takes a little more care than traditional cotton shirts. Follow these steps for best results:
1. Read the Care Label
Not all non-iron shirts are created equal. Check the care label and follow any ironing instructions provided. Most can be ironed at a medium heat setting but check first.
2. Use a Medium Heat
Non-iron fabrics are generally a blend of cotton with polyester or other synthetic fibers. These fabrics are more heat sensitive than pure cotton. Use a medium heat setting between 250-300°F to avoid damaging the shirt.
3. Iron When Damp
For best results, lightly dampen the shirt before ironing. The moisture helps relax the fibers and makes it easier to press out wrinkles. Mist the shirt with water or a spray bottle, or hang in the bathroom during a shower.
4. Iron Backside First
Start by ironing the inside or backside of the shirt. This helps relax the fabric fibers before pressing the right side outward.
5. Don’t Over-Iron
Make quick, light passes over the fabric. Avoid pressing down too hard or too long in one spot, which can cause a shiny imprint. Let the heat of the iron do the work.
6. Move With the Grain
Iron smooth by moving with the direction of the fabric weave, not against it. This helps the fibers lay flat and neat.
7. Use a Pressing Cloth
For a super smooth finish, try placing a lightweight cotton cloth over the shirt when ironing. This buffers and protects the fabric.
8. Finish with Starch or Spray
For extra crispness, lightly mist the shirt with spray starch after ironing. Or dilute liquid starch 50/50 with water and lightly dampen shirt before ironing.
9. Hang Properly
After ironing, hang or fold the shirt smoothly to maintain the pressed look. Avoid pullings, tugs, and wrinkles.
Iron Settings and Temperatures for Non-Iron Shirts
Refer to your shirt’s care label, but here are some general iron settings to use for non-iron shirts:
- Temperature – Medium heat, 250-300°F
- Steam – Use a light steam setting if desired
- Iron Mode – Choose cotton/linen setting for blended non-iron shirts
Avoid very high heat, which can scorch or shine the fabric. Make sure to keep the iron moving and don’t let it sit in one spot too long.
What Kind of Iron is Best?
You don’t need a fancy or expensive iron to touch up non-iron shirts. Any basic household iron with good temperature controls will work. Look for:
- Adjustable heat settings – Select medium temps between 250-300°F
- Steam settings – Steam helps relax wrinkles but is optional
- Nonstick soleplate – Helps glide over fabrics easily
- Pointed tip – For ironing between buttons and in pleats
Handheld travel irons are also great for quick touch ups when traveling. Avoid irons that get extremely hot which can damage non-iron fabrics.
Do You Need to Use a Press Cloth?
Press cloths are optional but can create a smoother, more polished finish when ironing. To use one:
- Choose a lightweight, smooth cotton cloth.
- Lightly dampen and place over area of shirt being ironed.
- Iron over the top of the cloth.
- The cloth helps protect fabric and contain the heat.
- Lifts and separates fibers for a crisper look.
Table linens or napkins can be used as impromptu pressing cloths in a pinch.
Ironing vs. Steaming Non-Iron Shirts
Steaming is another option for removing minor wrinkles from non-iron shirts. The heat and moisture from the steamer help relax fibers.
Benefits of steaming:
- More gentle than ironing
- Less risk of damaging fabric
- No ironing board setup required
Downsides:
- Doesn’t press fabric as flat
- Less crisp finish than ironing
- Won’t remove deep creases
For best results, use a steamer in conjunction with light ironing for optimal wrinkle removal. Or alternate between the two methods.
Storing Non-Iron Shirts to Avoid Re-Wrinkling
To keep your non-iron shirts looking neat longer after ironing:
- Hang properly – Use wide, sturdy hangers that maintain the shirt’s shape.
- Avoid compression – Don’t stack folded shirts too high or they can re-wrinkle.
- Cool, dry place – Store in a closet away from moisture and heat.
- Unbutton collars – Keep top button undone so the collar doesn’t get imprints.
- Use shirt cardboards – Place stiff cardboard inside the shirt when storing to hold shape.
Proper storage extends the wrinkle-free finish between washings.
How to Remove Iron Shine Marks
Over-ironing non-iron shirts can create a shiny sheen on the fabric weave. To minimize:
- Make quick light passes with the iron vs. pressing down hard.
- Avoid high heat settings which can scorch fabric.
- Use a press cloth to protect the shirt surface.
If shine marks occur:
- Rub the area lightly with a pencil eraser to reduce shine.
- Apply spray starch and iron over the shine mark on a low setting.
- This can help blend the sheen.
Avoid re-washing shirts with shine spots – heat from the dryer can set in the marks permanently.
Ironing Wrinkle-Free Shirts vs. Traditional Cotton
There are some key differences between ironing non-iron vs. traditional 100% cotton shirts:
| Non-Iron Shirts | Cotton Shirts |
|---|---|
| Lower heat setting (medium) | Higher heat setting (high) |
| Light, quick passes | Slower, firmer pressure |
| Iron backside first | Either side |
| Use a press cloth | Optional |
| Dampen fabric first | Optional |
| Move with grain | Move against grain |
The synthetic fibers in non-iron shirts require more gentle handling. Take care not to overheat or press too firmly.
Frequently Asked Questions
1. Can you ruin a non-iron shirt by ironing it?
You can potentially damage a non-iron shirt by ironing if you use excessively high heat or press down too hard. This can crush fibers, cause shine marks, or make the fabric stick together. Always follow garment care instructions and use a moderate heat setting. Avoid keeping the iron in one spot for too long.
2. Should non-iron shirts be ironed when wet or dry?
For best results, lightly dampen non-iron shirts before ironing. The moisture allows the fibers to relax and remove creasing more effectively. Spritz with water or hang in the bathroom during a steamy shower. Don’t soak the shirt – just a light misting is all that’s needed.
3. How often should you iron a non-iron shirt?
Most non-iron shirts only need occasional touching up as needed – a few times per season. Areas like the collar and cuffs may need more frequent attention. Frequent washing and drying accelerates the need for ironing. For minimal ironing, wash in cold water and air dry shirts.
4. Can you put non-iron shirts in the dryer?
Yes, non-iron shirts can be safely machine dried, and this will actually help maintain their wrinkle-free properties. The heat from the dryer reactivates the chemicals that keep the fabrics smooth. Tumble dry on a low setting. Avoid air drying non-iron shirts which can increase wrinkling.
5. Should non-iron shirts be washed differently?
Wash non-iron shirts with similar colors using cold water on a delicate or permanent press cycle. Warm water is OK but avoid hot. Use a gentle detergent and never use bleach. Reduce drying time on low heat. Removing shirts promptly from the dryer also helps minimize wrinkling.
Conclusion
While non-iron shirts are designed to resist wrinkling, some light ironing can keep them looking their best. Focus on key areas prone to wrinkles, and be sure to use proper temperature settings and handling to avoid damaging the fabric. With a little extra care, you can keep your non-iron shirts crisp and fresh between wearings.