Gluing fabric to wood can be a fun and creative way to upholster furniture, make decorative accents for your home, or create unique craft projects. With the right supplies and techniques, you can get a smooth, professional-looking finish. This complete guide will walk you through everything you need to know to successfully glue fabric to wood.
Table of Contents
Supplies Needed
Before starting your fabric and wood gluing project, make sure you have the following supplies on hand:
- Fabric – Choose an upholstery-weight fabric or canvas for the best durability and adhesion. Stay away from lightweight or stretchy fabrics.
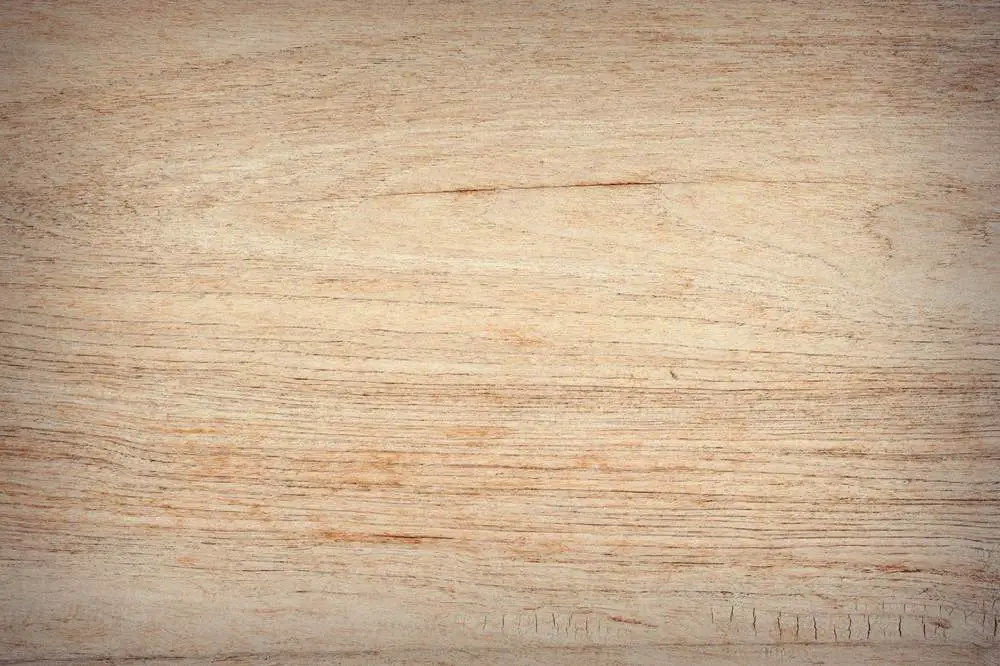
- Wood surface – Any unfinished, sanded wood surface will work. Avoid woods with lots of knots or an uneven grain.
- Glue – A fabric and upholstery glue is best. Look for ones that dry flexible and transparent. Some options include Beacon Fabri-Tac, Aleene’s Fabric Fusion, or E-6000 Craft Adhesive.
- Foam brush – For spreading the glue smoothly and evenly.
- Scissors – For cutting the fabric. Pinking shears can help prevent fraying.
- Straight pins – To help hold the fabric in place as the glue dries.
- Rags – For wiping away excess glue. Old t-shirts or soft cloths work well.
- Gloves – To protect your hands from the glue. Disposable nitrile gloves are ideal.
Preparing the Wood Surface
Proper surface preparation is key to getting a good bond between the fabric and wood. Follow these steps:
- Sand the wood lightly with 120-150 grit sandpaper to rough up the surface a bit. This helps the glue adhere better.
- Wipe away any dust with a dry cloth. Make sure the surface is completely clean and dry before applying glue.
- If there are any holes, gouges, or uneven areas in the wood, fill them with wood filler and let dry completely. Sand smooth.
- Apply a primer if desired. This isn’t mandatory, but it can help the fabric glue stick better. Use a multi-purpose primer suitable for wood.
- Let the primer dry fully before adding fabric. Refer to the product directions for dry times.
Now the wood surface is ready for gluing on the fabric!
Cutting the Fabric
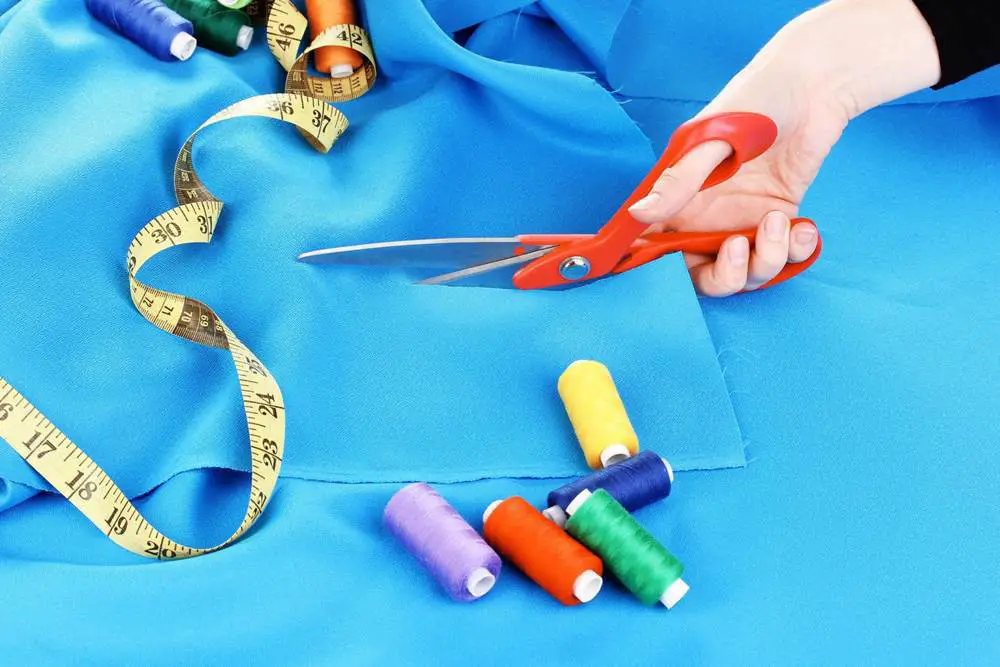
Once your wood surface is prepped, its time to cut the fabric:
- Lay the fabric out smooth and flat on a table or the floor. Make sure there are no wrinkles.
- Measure the dimensions of the wood surface. Add at least 2″ of excess fabric to each dimension to give yourself some extra for trimming. It’s better to have too much than not enough.
- Use a pencil to mark the cutting lines on the backside of the fabric. Use a ruler or straightedge to keep the lines precise.
- Using sharp scissors, carefully cut along the marked lines.
- Use pinking shears to trim off the selvage edges and help prevent fraying. Be sure to cut off any markings made on the backside too.
- If your fabric has a pattern, make sure it’s oriented correctly before gluing down.
The fabric should now be cut to size and ready for gluing.
Applying the Glue
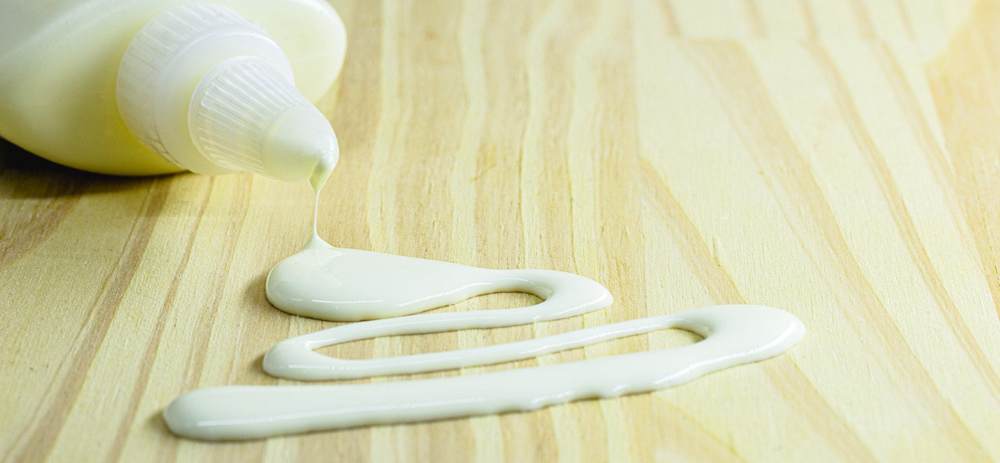
With your prepped fabric and wood, you’re ready to start gluing. Follow these tips:
- Working in a well-ventilated area, prepare the fabric glue according to the package directions.
- Using a foam brush, apply a thin, even layer of glue to the entire surface of the wood.
- Next, spread a layer of glue over the backside of the fabric. Completely cover the edges and corners.
- Let both surfaces become tacky before bonding them. This could take 5-10 minutes. Test a small area first before going for full contact.
- Once tacky, carefully lay the fabric onto the wood, lining up the edges neatly. Try not to let the fabric touch the wood until placement is certain.
- Starting from the center, gently smooth the fabric outward, pressing it firmly into the glue.
- Use straight pins around the edges to hold the fabric in place as it sets. Push pin heads flat for later removal.
- Allow the glue to dry for at least 24 hours before trimming off excess fabric. Drying times vary, so check the adhesive directions.
- A damp rag can help gently remove any dried globs of glue. Avoid scrubbing too hard.
With patience and care, the fabric should adhere smoothly and tightly to the wood surface.
Tips for Applying Glue
- Less glue is better – Too much glue seeps through fabric and causes wrinkles.
- Don’t overwork the glue – Quickly brush on a thin layer and allow it to become tacky.
- Smooth gently – Don’t stretch or tug fabric once placed. Just gently press out any bumps or ripples.
- Use a roller – For large surfaces, a J-roller or brayer can help smooth fabric and press it into glue evenly.
- Weight down edges – Once pinned, placing extra weight at the edges as it dries can help adhesion.
- Go slowly on vertical surfaces – For upholstering chairs or headboards, work in small sections to prevent slipping.
Finishing Touches
Once the main fabric panel is adhered and dried, just a few more steps complete the project:
- Carefully remove any straight pins. Try to pull them straight out to minimize holes.
- Use sharp scissors or a craft knife to trim off any excess fabric around the edges. Leave about 1⁄4” for seam allowances.
- If desired, cover the raw edges with trim, gimp tape, or decorative edging for a polished look. Hot glue or fabric glue works to adhere.
- For fabric seams, place edges together and glue down seam tape or binding to cover. Weight for drying.
- On upholstery projects, add staples or extra glue at seams and edges for durability under use.
- To protect and waterproof outdoor projects, apply a sealant like Mod Podge over the fabric.
- Iron on low heat to help smooth out any remaining wrinkles or bumps. Use a pressing cloth.
And that’s it! With the right glue and some patience, you can now attach fabric to create beautiful upholstered furniture, accent walls, lampshades, placemats, and so much more.
Common Questions
Here are answers to some frequently asked questions about gluing fabric to wood:
What kind of wood is best to use?
Porous woods like pine, poplar, birch, aspen, and plywood provide the most surface area for glue adhesion. Very hard woods may need light sanding for the glue to grip. Avoid oily exotic woods.
Does the fabric have to be a certain type?
Upholstery weight fabrics, canvas, felt, and most cottons work best. Avoid very lightweight, stretchy, or slippery fabrics that can wrinkle easily.
What’s the best glue to use for fabric and wood?
Look for fabric and upholstery specific glues like Beacon Fabri-Tac, Aleene’s, or E-6000 Craft. Avoid basic school glues which dry too stiff. Contact cement also works for less permeable surfaces like leather or vinyl.
How do I smooth wrinkles after gluing?
Use a roller, brayer, or J-tool from the center outward. For minor wrinkles, try pressing with an iron on low heat with a cloth barrier. Avoid pulling or stretching the fabric once placed.
Can I glue fabric to unfinished, stained, or painted wood?
Yes, as long as the surface is cleaned, lightly sanded and free of oils, waxes, or debris that prevent adhesion. Primer and a light sanding helps.
What objects can I make with glued fabric over wood?
Some fun projects include upholstered furniture, headboards, accent walls, throw pillows, placemats, trays, jewelry boxes, lampshades, memory boards, and more. Get creative!
How do I glue intricate fabrics onto curved surfaces?
Work in small sections, allowing the glue to get tacky before placing fabric. Smooth from the center outward. Use pins to hold curved areas in place as needed. Trim off excess fabric once fully dry.
Can I glue fabric over cracked or damaged wood?
You’ll want to repair any major flaws first by sanding, filling holes and cracks with wood filler, planing uneven areas, etc. Small flaws are ok, but may eventually show through the fabric over time with use.
Conclusion
Gluing fabric to wood opens up endless possibilities for DIY projects to add personality to your home. With the right preparation, adhesive, and technique, you can get professional-looking results. Just be patient during the gluing process. Follow the steps for neat, wrinkle-free adhesion that will hold up for years to come. What ideas do you have for jazzing up wooden surfaces with fabric?