Heat transfer vinyl, also known as HTV, is a great way to customize t-shirts, hoodies, water bottles, hats, and more. With heat transfer vinyl, you can create custom designs, logos, words, and phrases to make your clothing and accessories truly unique.
In this complete guide, we will cover everything you need to know about working with HTV vinyl, including:
- What is heat transfer vinyl and how does it work?
- Benefits of using HTV vinyl
- What you need to get started
- How to apply HTV vinyl
- Tips for optimal HTV application
- How to cut HTV vinyl
- Mistakes to avoid
- Frequently asked questions
Follow along below for step-by-step instructions and expert tips to help you make the most of HTV vinyl for your DIY projects!
Table of Contents
What is Heat Transfer Vinyl and How Does It Work?
Heat transfer vinyl, or HTV, is a specialty vinyl that allows you to transfer designs onto fabric like cotton, polyester, and blends using a heat press or home iron. HTV has an adhesive backing that sticks to the fabric when heat is applied. Once the design has been fully adhered to the fabric, the top layer of vinyl peels away leaving your design permanently attached.
HTV is different from traditional vinyl decals in that it only bonds to the fabric when heat is applied. The adhesive on HTV remains dormant until activated by heat, allowing you to reposition the material until you are ready to adhere the design. This makes it easy to transfer designs onto garments flawlessly.
There are a few different types of HTV vinyl:
- Hot Split HTV – This is the most popular and affordable option. It has two layers – the top layer peels off after pressing leaving a soft feel.
- Cold Peel HTV – This has a built-in backing that peels away cold without heating. Great for delicate fabrics.
- Stretch HTV – Formulated with more flexibility for applying to knits and stretchy fabrics.
- Glitter HTV – Has a glittery pattern to add sparkle and shine to designs.
- Flock HTV – Provides a velvety, fuzzy texture for a unique look.
- Glow in the Dark HTV – Glows when lights go out! Charges in sunlight or indoor light.
- Printable HTV – Can be drawn on with markers before applying. Great for one-off designs.
Benefits of Using HTV Vinyl
Here are some of the main benefits that heat transfer vinyl provides:
- Customization – Easily create unique, personalized designs for clothing, accessories, and more. HTV allows for unlimited creativity!
- Easy Application – HTV is designed to be simple to apply, even for beginners. Just cut, peel, press! Much easier than screen printing designs on garments.
- Time Saving – No pre-treatment of fabric required. You can decorate a project in less than 15 minutes!
- Affordable – HTV vinyl is relatively inexpensive, especially for small DIY projects. Cost effective for making customized gifts.
- Durable – HTV vinyl will outlast the garment when properly applied. Machine washable and dryable. Won’t crack, peel or fade over time.
- Versatile – Use HTV on cotton, polyester, mixed blends, leather, wood, glass, metal, and more. Great for a variety of DIY projects.
- Variety – Many HTV patterns, colors, finishes, and textures to choose from. Glitter, glow in the dark, reflective, and more!
Using heat transfer vinyl opens up countless possibilities for customizing clothing, accessories, and home decor!
What You Need to Get Started with HTV
Heat transfer vinyl application requires just a few supplies to get set up:
- HTV vinyl – Choose vinyl for your project based on the fabric type. Variety packs are a great starter option.
- Transfer Tape – This is used to transfer vinyl designs onto surfaces cleanly and easily.
- Cutting Machine – You’ll need a Cricut or Silhouette machine to cut vinyl. You can also hand cut simple designs.
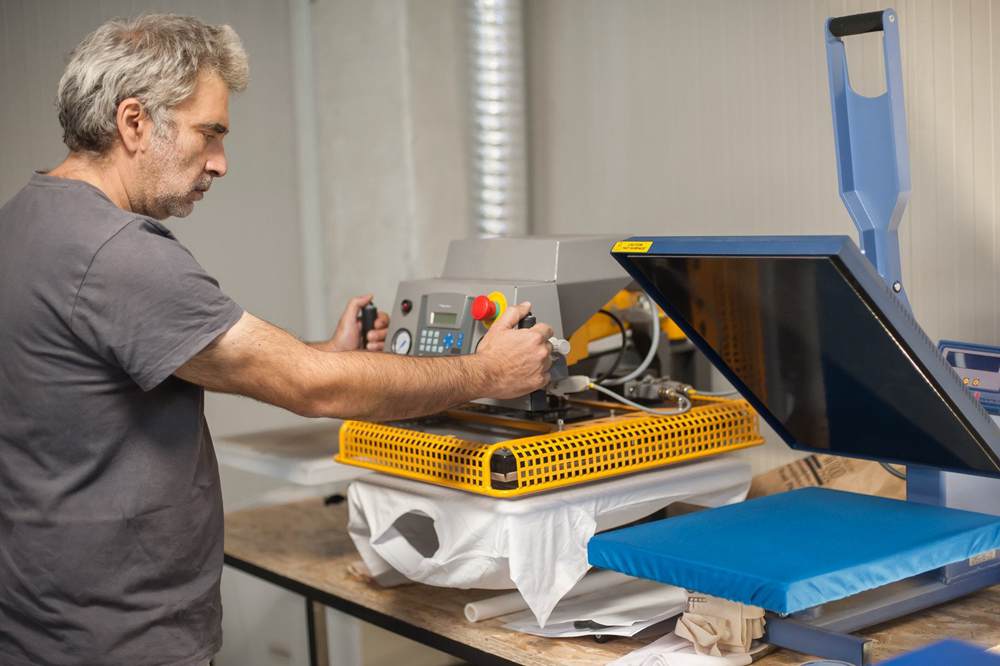
- Heat Press – For the best, professional results, a heat press is recommended. But a home iron will work too.
- Heat Protective Sheet – Prevents scorching and provides an even pressing surface.
- Weeding Tool – Used to peel away excess vinyl. A pair of tweezers works.
- Fabric – Cotton, polyester, and cotton/poly blends work best.
- Scissors – For trimming away excess fabric or vinyl as needed.
- Masking Tape – Helpful for securing vinyl during application and pressing.
Once you have these essential supplies, you’ll be ready to start designing and applying custom HTV projects! High-quality materials, especially HTV vinyl and transfer tape, will make the process easier and lead to better end results.
How to Apply HTV Vinyl – Step-By-Step
Applying HTV vinyl to shirts, bags, hats, mugs, and other items is a fairly straightforward process. Follow these general steps for flawless application every time:
1. Prepare the Fabric
- If applying to clothing, iron fabric first to remove any wrinkles and moisture. HTV will not adhere properly to wrinkled or damp fabric.
- Wash fabric before applying HTV. This removes any residue which could impact vinyl adherence.
- Place a heat protective sheet inside shirt or other garment. This prevents vinyl from sticking to both sides of material.
2. Cut Out Your Design
- Use a cutting machine to cut your vinyl, following the manufacturer’s instructions. Cricut and Silhouette machines work great for this.
- Or for simple designs, hand cut the vinyl with craft scissors. Avoid intricate designs when hand cutting vinyl.
- Make sure to mirror or flip your design before cutting if applying to a shirt or item that is worn on one side. This ensures it will appear correctly when applied.
3. Weed Away Excess Vinyl
- Remove any unwanted vinyl with tweezers. This is called the “weeding” process. Discard excess vinyl after weeding.
- Only the intended vinyl design should remain on the backing sheet after weeding is complete.
4. Preheat
- Turn on heat press and preheat to 305-320°F, with medium-high pressure setting.
- If using an iron, preheat to the cotton/polyester setting, no steam.
5. Position Design and Cover with Transfer Sheet
- Place HTV vinyl design with the adhesive side down onto shirt or fabric item. Use masking tape to secure in place.
- Cover design completely with a transfer sheet, parchment paper, or release paper. This prevents vinyl from sticking to the heating element.
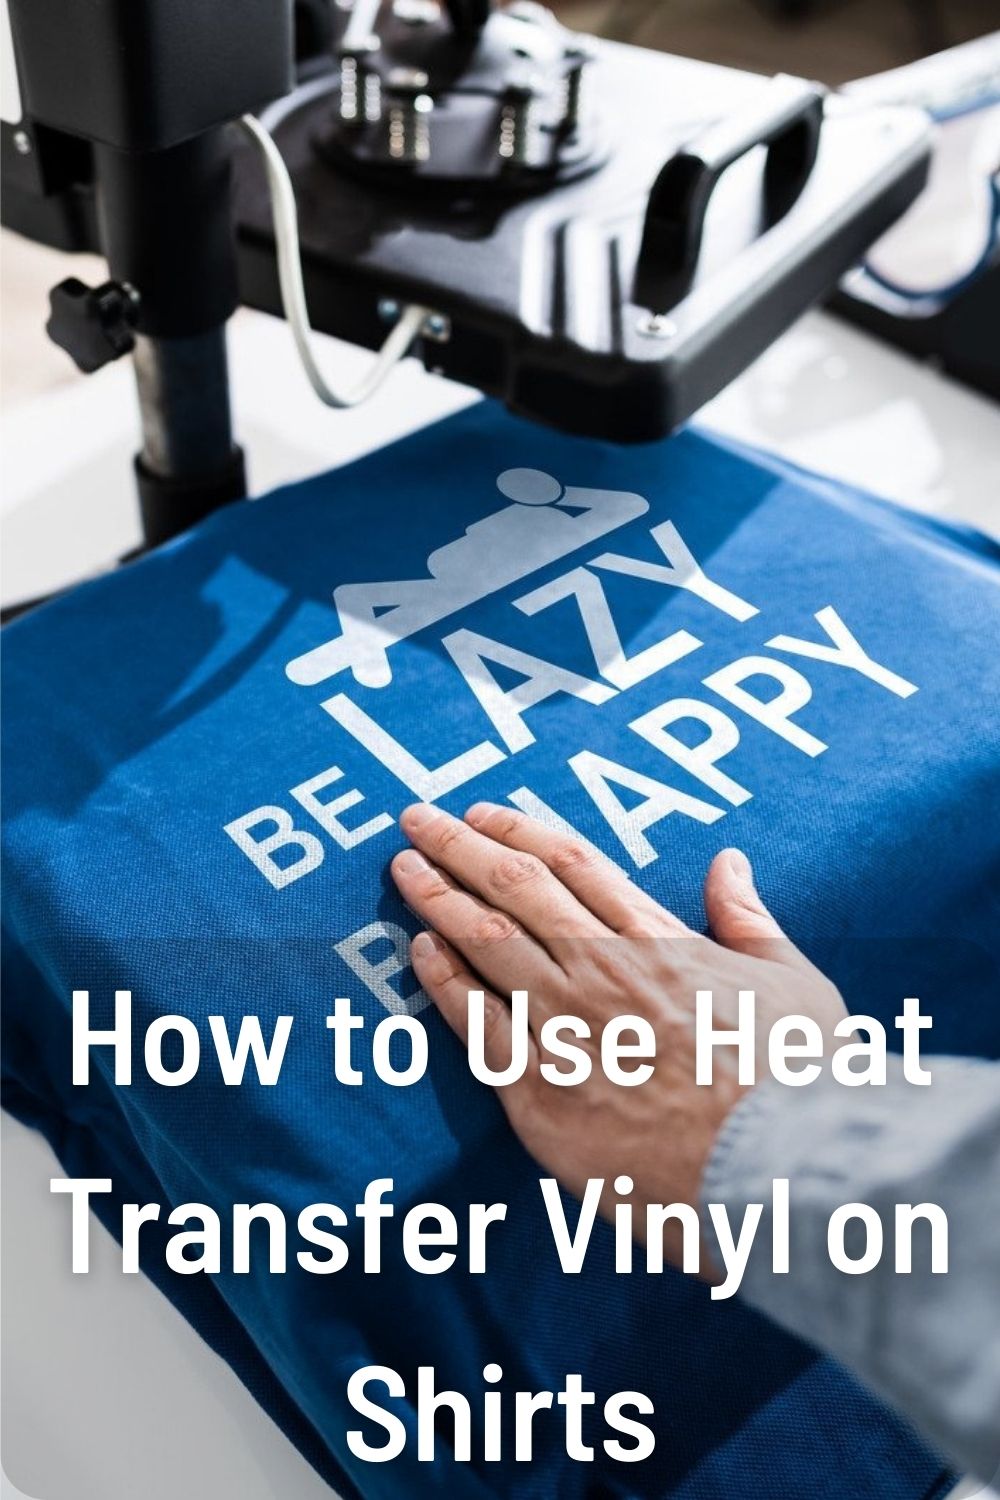
6. Press the Vinyl
With Heat Press:
- Lock press shut with vinyl/fabric inside and apply heat and pressure evenly across the surface.
- Press for 10-15 seconds. Lift periodically to check adhesion.
- For larger designs, press each section for 10-15 seconds before moving to the next. Overlap sections slightly.
With Iron:
- Place iron directly over vinyl and leave in place for 10-15 seconds. Apply firm downward pressure.
- Raise iron and check adhesion periodically before continuing to iron. Press 10-15 seconds per section.
- Turn shirt inside out and press from back side for 15 seconds to heat adhesive through fabric.
7. Allow to Cool
- Once application is complete, allow vinyl to cool for a few seconds before handling. Do not immediately reposition or pull at the design.
- For Cold Peel vinyl, carefully peel away backing once cooled. For Hot Split vinyl, peel backing after completely cooled.
And that’s it – you now have a custom vinyl design that is permanently adhered to your shirt, tote bag, phone case, or other fabric item!
Tips for Applying HTV Vinyl Perfectly
Follow these handy tips and tricks for flawless HTV application results:
- When pressing shirts and apparel, insert a piece of cardboard inside the garment so the vinyl only adheres to one side. This prevents bleed-through onto the backside.
- Use an adhesive lint roller before pressing to remove any fibers or lint. This prevents unwanted debris from getting permanently heat sealed under the vinyl.
- Trim away fabric close to the vinyl edges after pressing. Having any fabric overlap the vinyl can prevent the adhesive from bonding fully with the garment.
- Stretch knit fabrics smooth and taut when adhering vinyl. This prevents tunneling or bubbling of the HTV over seams.
- If you notice sections that didn’t fully adhere, don’t peel off the vinyl. Simply re-press that area for 10-15 seconds.
- When layering multiple pieces of HTV vinyl, reduce pressure and press for less time (5-10 seconds). This prevents vinyl layers from shifting.
- After washing inside out and air drying, re-press vinyl with an iron or heat press for 10 seconds. This reactivates the adhesive and prevents curling edges.
Taking your time and following proper application techniques will result in vinyl designs that stay adhered through countless wears and washes!
How to Cut HTV Vinyl
Before you can apply HTV vinyl to a project, you first need to cut it into the proper shapes and designs. Here are some options for cutting HTV vinyl:
Digital Cutting Machines
Cricut and Silhouette cutting machines are ideal for cutting vinyl with precision and ease. Follow these steps:
- Design your image in the machine’s software or app. Size it correctly for the project.
- Mirror the image for application on garments or single-sided items so it faces the right direction.
- Load the vinyl onto the cutting mat, adhesive side down.
- Adjust cut settings like pressure for vinyl, then send to cut.
- Weed away excess vinyl outside of the cut design.
- Transfer the vinyl design to your project.
Hand Cutting Vinyl
For simple shapes and lettering, HTV can be hand cut using craft scissors or an X-ACTO knife. Follow these tips:
- Use a ruler and measure carefully when hand cutting vinyl.
- Place vinyl on a self-healing mat to protect work surfaces from damage.
- Move the scissors or knife in smooth, continuous strokes when cutting – no short choppy cuts.
- Rotate the vinyl as you cut curves and corners for the best control.
- Weed out vinyl immediately after cutting while still on the mat for stability.
Hand cutting is more time consuming than using a machine but gives you flexibility for small vinyl projects!
Common Mistakes to Avoid with HTV Vinyl
As with any new craft or DIY skill, there is a learning curve when getting started with heat transfer vinyl. Avoid these common mistakes for frustration-free application:
- Not Pressing Evenly – Lead to inconsistent adhesion. Use a heat press or smooth ironing motions.
- Insufficient Heat or Pressure – Vinyl won’t adhere fully without proper temps and pressure.
- Not Weeding Thoroughly – Excess vinyl gets pressed into fabric, hard to remove after. Weed carefully before applying.
- Removing Backing Prematurely – Always let HTV cool completely before peeling off the backing sheet to prevent lifting.
- Stretching Fabric Too Much – Over-stretching can distort vinyl design and cause tunneling on fabric. Pull fabric taut but not too tight.
- Forgetting to Mirror Image – Important for single-sided items! Design will be backwards if not mirrored pre-cutting.
- Washing Too Soon – Wait 24-48 hours before first wash to allow vinyl to fully adhere to fabric over time.
Go slowly, follow application instructions, and use quality materials to avoid any issues with your HTV projects. Take your time practicing to hone technique.
Frequently Asked Questions
What fabrics can I use HTV vinyl on?
HTV is specially formulated to adhere to cotton, polyester, cotton/poly blends, leather, glass, wood, and more. Natural fibers like silk and wool are not recommended.
Does HTV vinyl stay on after washing?
When applied correctly with ample heat and pressure, HTV vinyl will remain permanently adhered through countless washes. Wait 24 hours after application before first wash.
Can I layer multiple colors of HTV vinyl?
Yes, layering HTV vinyl allows you to create multi-color designs. Press each layer for 5-10 seconds with light-medium pressure to prevent shifting between layers.
Is HTV vinyl waterproof?
Most HTV contains a polyurethane coating that makes it water resistant but not fully waterproof. Adding a sealer spray can help improve waterproofing for items like outdoor signage.
Can I press HTV vinyl with an iron instead of a heat press?
You certainly can use an iron to apply HTV. Be sure to use the cotton/polyester setting with steam turned off. HTV bonds best at 305°F-320°F. A heat press allows more precision but a home iron will work too.
How do I cut intricate HTV vinyl designs?
Intricate designs are best cut with a digital cutting machine like Cricut or Silhouette. The software allows you to upload or create designs and the machines will cut the HTV vinyl with precision.
What are the best HTV vinyl brands?
Some top rated HTV vinyl brands include Siser, ThermoFlex, Cricut Essential and Infusible Ink, and Oracal. Test different vinyls to find your favorites, as quality can vary across vendors.
Conclusion
Working with heat transfer vinyl opens up a whole world of possibilities for creating custom shirts, apparel, accessories, home decor, and so much more! With a few basic supplies, a heat source, and some practice, you can start designing and transferring HTV projects like a pro.
We covered the complete process from what HTV vinyl is, how to apply it properly with a heat press or iron, tips for optimal results, how to cut vinyl, common mistakes, and answers to frequently asked questions.
The most important things to remember are to cut vinyl precisely, weed thoroughly, use adequate heat and pressure, and allow time to cool before removing the backing. With some trial and error, you’ll be making artistic, personalized HTV projects in no time!