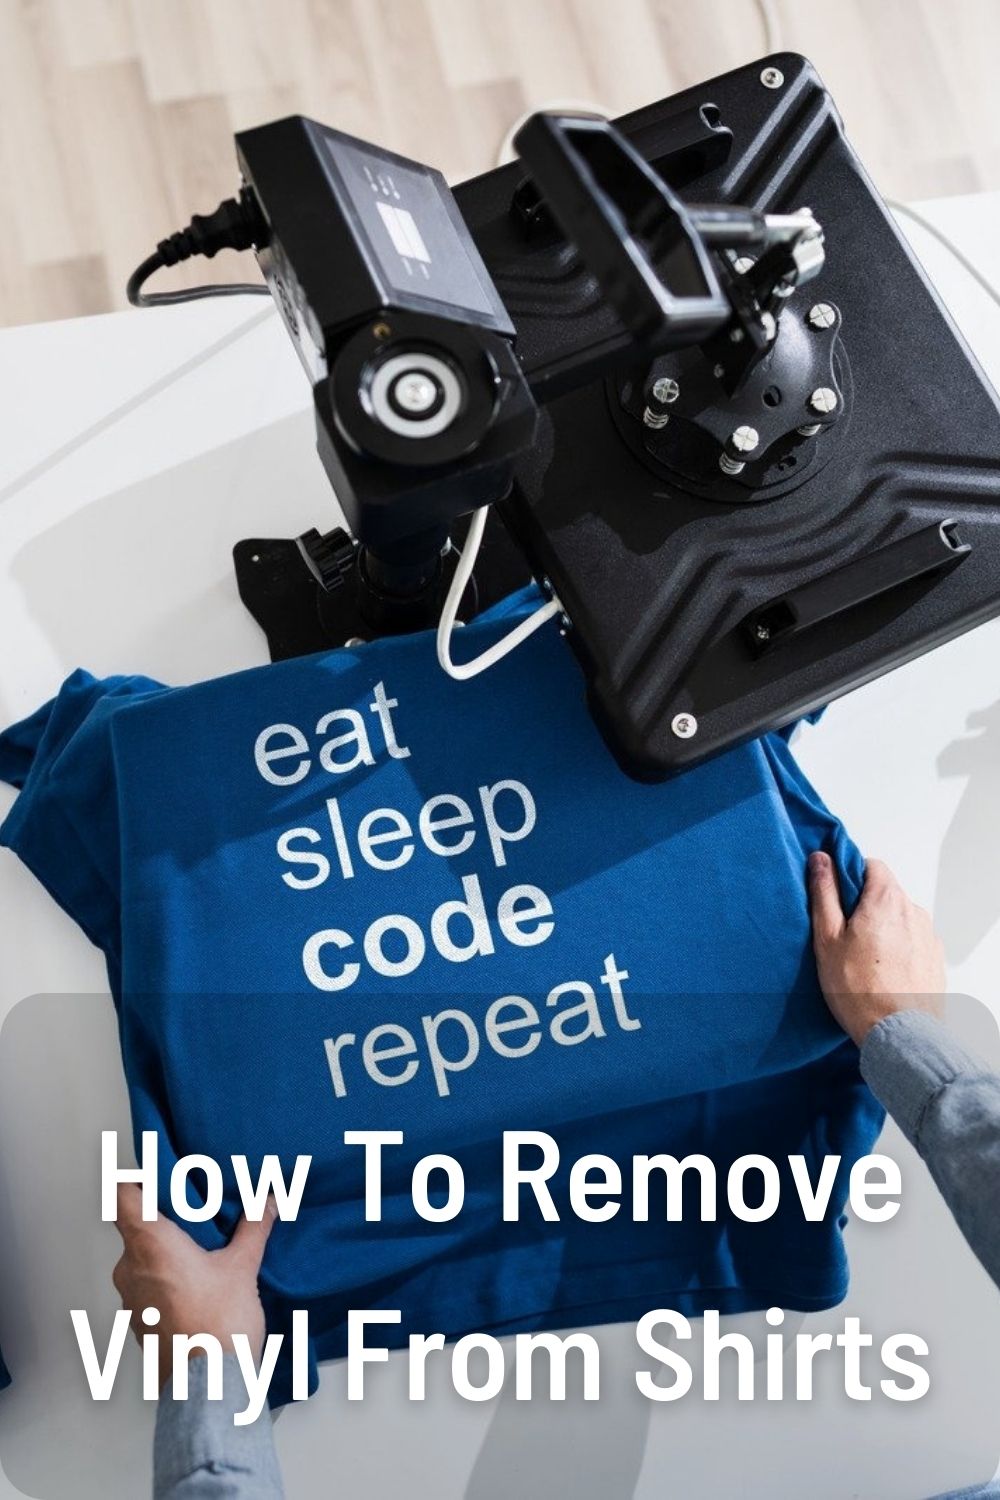
Applying heat transfer vinyl (HTV) onto shirts is a popular way to customize clothing. Also known as iron-on vinyl, HTV allows you to create custom designs, logos, lettering, and more on fabric. While HTV can create some beautiful, unique pieces, you may eventually want to remove the vinyl from the shirt.
Removing vinyl can be tricky, but it is possible with the right techniques and tools. In this comprehensive guide, we’ll cover everything you need to know to safely and effectively remove vinyl from shirts of all types.
Table of Contents
When You Might Want to Remove Vinyl
There are a few common reasons you may need to remove vinyl from a shirt:
- Reusing the shirt – If you want to update the design on a shirt or use it for a new project, you’ll need to strip off the old vinyl first.
- Vinyl cracking or peeling – Over time with washing and wearing, HTV can begin to crack or peel away from the fabric. Removing it completely will give you a fresh slate.
- Errors during application – Mistakes happen, especially when you’re new to working with HTV. Thankfully, removing vinyl gives you a do-over if placement or alignment was off.
- Change of mind – Perhaps you or the shirt’s wearer decided the design isn’t to their taste after all. Taking the vinyl off gives the shirt new life.
- Preparing for a different process – Other shirt customization techniques like screen printing or sublimation printing may require removing any vinyl first.
No matter what motivates you to remove vinyl, this guide will teach you how to do it successfully.
Supplies Needed

Removing vinyl requires just a few simple supplies, most of which you may already have:
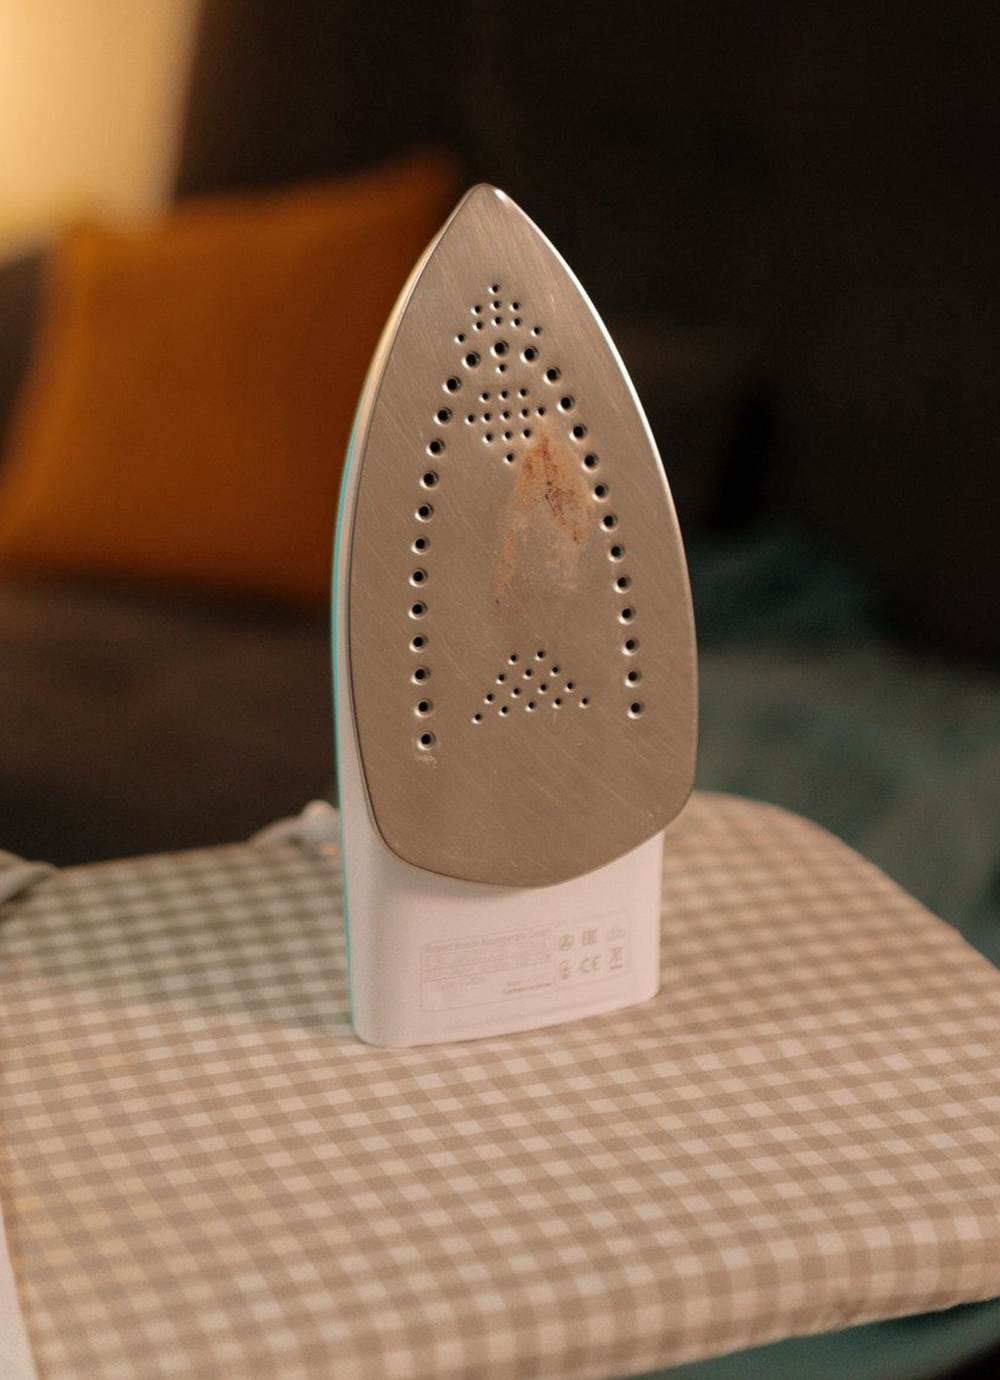
- An iron – A standard iron set to the cotton or linen setting will provide the heat needed to loosen vinyl adhesive.
- Parchment paper – Also called baking paper, this heat-resistant paper protects your iron and provides a nonstick barrier.
- A putty knife or scraper – Opt for a plastic putty knife to avoid damaging the shirt. Metal scrapers can scratch fabric.
- Tweezers – Helpful for grabbing and pulling off small vinyl pieces.
- Paper towels – For pressing down on vinyl and wiping away adhesive residue.
- Alcohol wipes or rubbing alcohol – Used after peeling to clean any remaining adhesive.
- Washcloth – Can be used instead of paper towels to rub off adhesive.
- Laundry detergent – Handy for a final wash to eliminate any leftover residue.
With these simple household items on hand, you’re ready to successfully remove vinyl HTV from any shirt material.
Step-By-Step Vinyl Removal Process
Removing vinyl properly takes some care and patience, but following these steps will allow you to strip vinyl without damaging the garment:
1. Heat the Vinyl
- Place parchment paper over the vinyl design you want to remove. This prevents the iron from sticking.
- Run a hot iron over the vinyl for 15-30 seconds at a time. Move it slowly and steadily.
- The heat will soften the vinyl adhesive and separate it from the shirt fabric underneath.
- Avoid ironing for too long in one spot, as excessive heat can scorch or melt fabric.
2. Gently Lift a Corner
- After heating, use a putty knife or tweezers to gently lift up a corner of the vinyl.
- If it’s ready, it should easily peel back from the fabric. If not, reheat and try again.
- Pull slowly and steadily – ripping forcefully can damage the shirt.
3. Peel Off the Vinyl
- Once lifted, peel the vinyl back at a shallow angle, like removing a sticker.
- It should separate from the shirt fairly cleanly. Go slowly.
- For small lettering and details, use tweezers for better grip and control.
- If any parts are stubborn, reheat before pulling.
4. Remove Adhesive Residue
- After removing the vinyl layer, adhesive residue will likely remain on the shirt.
- Rub this gently with a paper towel or washcloth and a small amount of rubbing alcohol.
- The alcohol will dissolve the adhesive so it wipes away cleanly.
- Avoid harsh scrubbing, as it can damage fabric.
5. Wash and Dry the Shirt
- For best results, launder the shirt after removing all residue.
- Use a normal wash cycle with detergent. This will eliminate any remaining adhesive.
- Check carefully after washing/drying to ensure the shirt is completely clear of vinyl and residue.
- If any adhesive remains, spot treat with rubbing alcohol and wash again.
Tips for Easy Vinyl Removal
Follow these tips and tricks to make vinyl removal from shirts even smoother:
- Apply new vinyl right after removing old vinyl. The adhesive residue left behind will help new vinyl adhere better.
- For large vinyl pieces, score the surface with a box cutter before heat-peeling. This allows it to be removed in smaller sections.
- Heat and peel slowly, especially around shirt seams. Pulling too quickly can cause threads to snag.
- If vinyl won’t lift easily, heat longer. 30-60 seconds may be needed for stubborn spots.
- Avoid ironing 100% polyester – the heat can damage it. Use lower temperatures and press/peel gently.
- For heavy vinyl residue, let rubbing alcohol soak for 1-2 minutes before wiping to fully dissolve adhesive.
- Heat press the shirt after washing to smooth it out and ensure no adhesive remains.
How To Remove Vinyl From Different Shirt Materials

HTV can be used on all types of fabric, but the vinyl removal technique may need to be adjusted slightly depending on the shirt material:
Cotton
The most common material for t-shirts and other casual apparel, cotton is the easiest to remove vinyl from. With cotton, follow the basic heat-peel-wash steps outlined above. The high heat tolerance and smooth weave of cotton allows vinyl to lift cleanly. Take care around seams and collars.
Polyester
Polyester has low heat tolerance, so use a cooler iron and take care not to leave it in one spot for more than a few seconds. Peel slowly and gently to avoid damaging the synthetic fibers. It may take longer for the adhesive to fully dissolve with washing.
Blends
For cotton/poly blends, determine if the content leans more natural or synthetic. Remove vinyl carefully, testing as you go to ensure the heat and peeling does not distort the fabric. It may take trial and error to find the ideal timing.
Performance Fabrics
Athletic and technical fabrics often repel vinyl adhesion in the first place. But if you do get vinyl onto moisture-wicking, stretchy or waterproof material, take extreme care. Use very low heat and peel exceedingly slowly to avoid damaging the material’s special coatings and performance features. Test in an inconspicuous area first.
Spandex/Lycra
Used in activewear and swimsuits, these stretchy materials can be damaged by high heat. Cool iron temperatures, quick pressing, and gentle peeling is best. Rinse with cool water while peeling to keep the fabric flexible. This also helps dissolve adhesive and prevent snags.
Silk & Satin
The delicate surfaces of silk and satin are easily marred and water-stained. For these fabrics, skip the washing steps. Instead, use high-percentage isopropyl alcohol and a soft cloth to gently rub away adhesive residue. This avoids water damage and preserves the luxurious drape.
Conclusion
Removing vinyl heat transfers from shirts takes some care, patience and the right technique. But armed with the information in this guide, you can safely strip vinyl from any fabric type without damage. Follow the proper heat, peel, and wash steps outlined here, while adjusting as needed for delicate or synthetic materials.
With the vinyl gone, shirts get a fresh start and you can redecorate them with fun new designs! Detailed step-by-step instructions, material-specific guidance, and handy tips make vinyl removal an easy process. So bid farewell to old vinyl projects and say hello to new creative endeavors.
Frequently Asked Questions
1. What’s the easiest way to remove vinyl from shirts?
The easiest vinyl removal method is to heat the vinyl with an iron to soften the adhesive, gently lift a corner and slowly peel it off. Then use rubbing alcohol and wash the shirt to eliminate any remaining residue.
2. How do I get old vinyl off a shirt I want to re-use?
Heat the old vinyl with an iron, then peel it off slowly using a putty knife or tweezers. Clean off leftover adhesive with alcohol or detergent, and wash the shirt. This will completely strip the shirt for a new vinyl project.
3. Can I just peel off vinyl without heat?
It’s not recommended to peel off vinyl without heating it first. The adhesive is very stubborn when cold and you could end up damaging the shirt by pulling too hard. Heat is necessary to soften the glue first.
4. What temperature should I heat vinyl to for removal?
Use a medium-high iron temperature like cotton or linen setting. This allows the iron to warm up to 285-300 degrees F – hot enough to activate the adhesive so vinyl can be peeled.
5. How do I get rid of vinyl adhesive residue left on a shirt?
After peeling off the vinyl layer, dampen a towel with rubbing alcohol and gently rub the remaining adhesive marks. The alcohol will dissolve the sticky residue so it wipes away cleanly. Then wash the shirt.