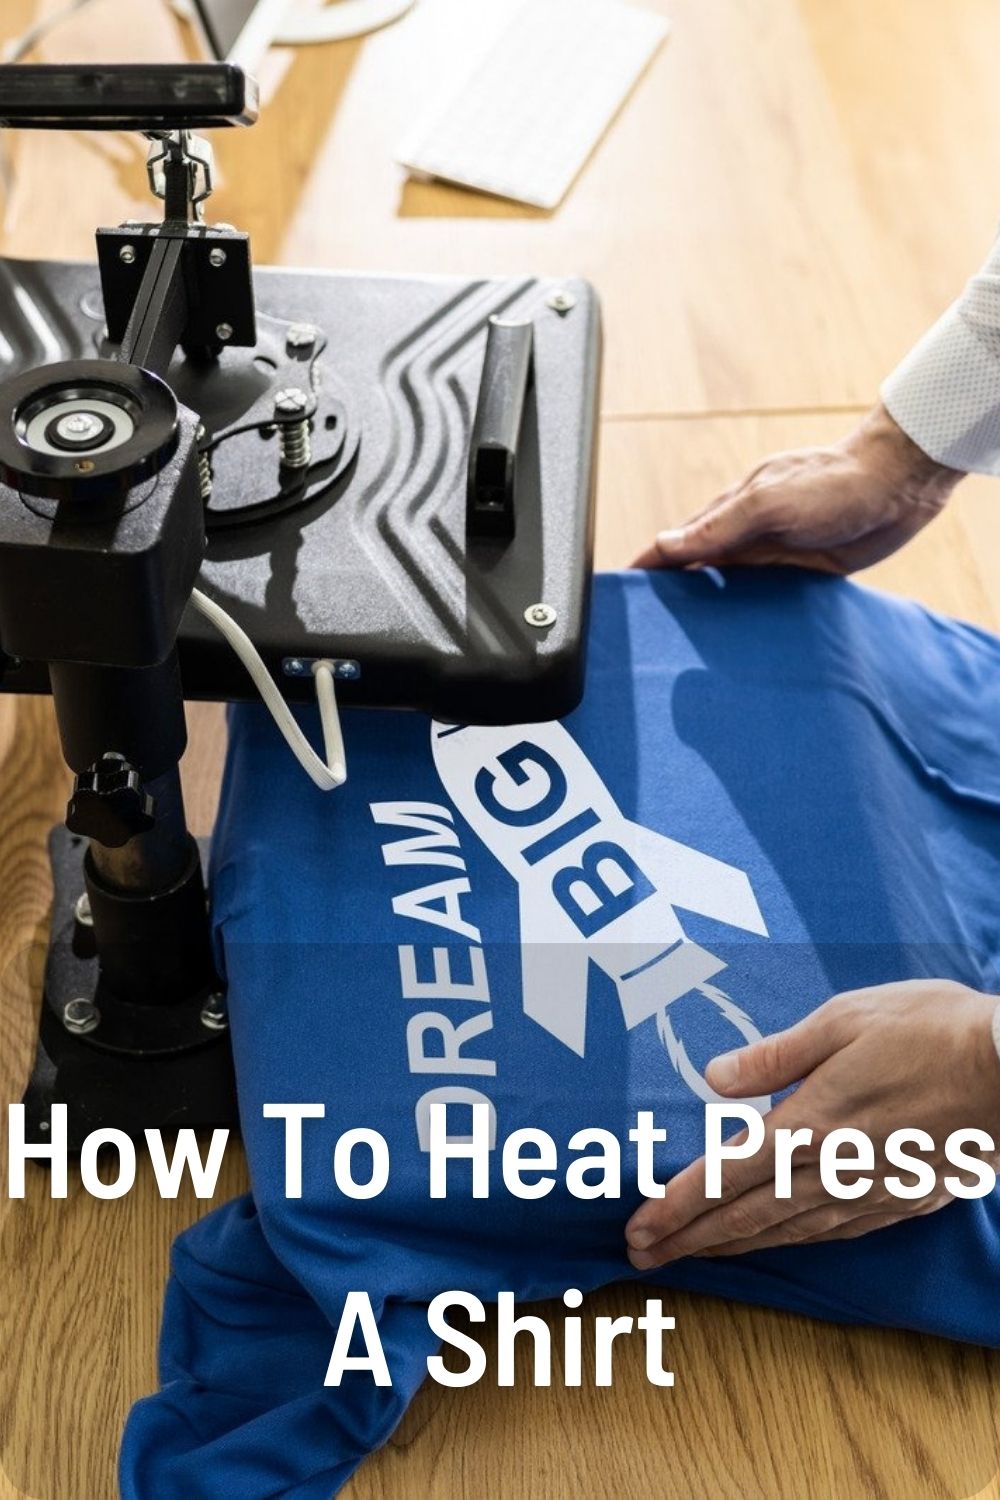
Heat pressing is a popular method for applying custom designs, lettering, and graphics to t-shirts and other apparel. With a heat press machine, a transfers, and some basic supplies, you can easily make customized shirts in your own home. This complete guide will teach you everything you need to know to get started heat pressing shirts like a pro!
Table of Contents
What You Need To Heat Press Shirts
Before you can start making heat pressed shirts, you need to gather a few important supplies:
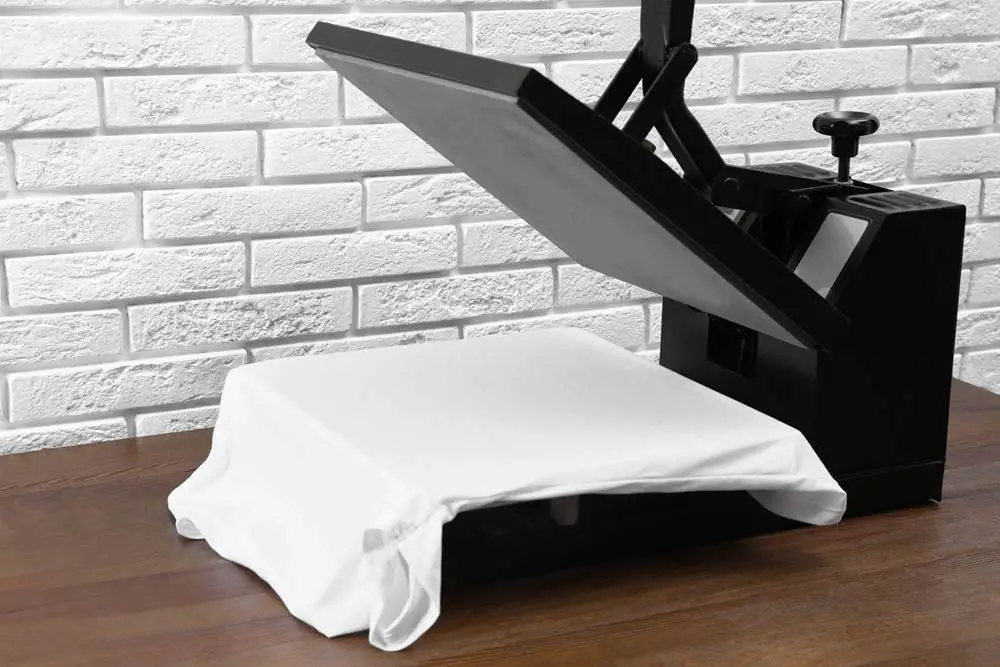
Heat Press Machine
Obviously the most essential tool is a good heat press machine. There are several types:
- Clamshell – This classic design has heating plates that open like a clamshell. Most affordable and good for beginners.
- Draw press – Heating plates slide out on a drawer mechanism. Takes up less space than clamshell.
- Swing away – Hinge design allows heating plates to swing away for easy access. Great for large/bulky items.
Other considerations when choosing a press:
- Press size – Get one large enough for your projects, usually 15×15 in or larger.
- Temperature range – Look for one with variable temp up to 400°F-500°F.
- Pressure – Auto-open clamshells apply even pressure. Manual presses require an even clamping motion.
- Digital controls – Allows you to set precise temp/time for consistent results.
Heat Transfer Vinyl (HTV)
HTV (also called iron-on vinyl) is a specialty material that allows you to cut out custom designs/lettering to apply to shirts using heat. The most popular brands are Siser, Cricut and ThermoFlex.
You can find it in a variety of colors and finishes:
- Solid colors – For lettering, logos, and filled-in designs.
- Patterned – Hundreds of patterns and designs available.
- Glitter HTV – Adds sparkling accents and effects.
- Glow in the dark – Transfers that glow under black lights.
- Flock HTV – Adds a velvet-like finish.
Teflon Sheet
A Teflon sheet is used to cover the vinyl during the heat pressing process. This prevents the vinyl from sticking to the heating plates. You’ll need one a bit larger than your biggest project size.
Weeding Tool
This small hook-like tool is used to peel away the excess vinyl around your cut design, leaving only the design to transfer. A lot of heat presses come with one included.
Miscellaneous
Other handy supplies include:
- Tshirts and apparel to press
- Transfer tape to apply vinyl
- Craft knife for intricate cuts
- Self-healing cutting mat
- Ruler
Step-by-Step Guide To Heat Pressing A Shirt
Once you have your supplies, you’re ready to start pressing! Follow these steps:
1. Prepare Your Design
Use design software to create your desired text, logo or image. Popular options include:
- Cricut Design Space
- Silhouette Studio
- Adobe Illustrator
The design needs to be in a vector cut file format like .svg, .dxf or .studio. Size it approximately how you want it to fit on the shirt.
For lettering, make sure to design it in reverse or mirrored so it reads correctly when pressed.
2. Cut Your Vinyl
Use a vinyl cutter or cutting machine to cut your design out of HTV vinyl. Things to know:
- Make sure your machine is set for HTV material. Consult the manual for settings.
- Load the vinyl on the mat with the colored side facing down so the cutter cuts through the plastic backing.
- Feed the mat + vinyl into your cutter and cut your design.
3. Weed the Vinyl
Weeding removes all the unwanted vinyl around your design. Here’s how:
- Place the recently cut vinyl on your workspace with the colored side facing up.
- Use the weeding tool to pick away the excess vinyl. Work slowly and carefully around intricate details.
- Peel away the weeded scraps and save your cut design on the backing sheet.
4. Adhere Vinyl To Shirt
Now it’s time to stick the vinyl design onto the shirt:
- Lay the shirt flat on your work surface. Smooth out any wrinkles.
- Place the vinyl design colored side down onto the shirt where desired.
- Rub firmly over the backing to adhere the vinyl to the fabric.
- Slowly peel back the clear backing sheet. Your design should now be transferred to the shirt.
5. Heat Press The Shirt
The final step is applying heat to bond the vinyl permanently to the fabric:
- Pre-heat your heat press to 300°F-315°F. Consult your vinyl instructions for exact temp.
- Place shirt on lower platen. Smooth flat and straight.
- Cover with Teflon sheet to protect heating plates.
- Clamp heat press shut and press for 15 seconds.
- Open press, remove shirt, and peel Teflon sheet off while hot.
- Allow shirt to fully cool before wearing, washing or touching vinyl.
That’s it – you now have a custom heat pressed t-shirt!
Tips For Best Results
Follow these pro tips when heat pressing:
- Use light pressure. Excessive pressure can damage shirts over time.
- Don’t stretch or pull fabric when pressing or you may distort the design.
- Periodically check your heat press temp. Fluctuations can affect results.
- Pre-wash fabric first for better vinyl adhesion.
- Wait 24-48 hrs after pressing before washing to maximize durability.
Heat Pressing Different Materials
HTV vinyl works great on cotton, polyester, and cotton/poly blends. But you can also press a variety of other fabrics:
Leather & Faux Leather
Heat press at 280°F for 10-15 seconds. Use lower pressure. Condition leather first for easier application.
Nylon & Mesh
Set press to 270°F-280°F for 10-15 seconds. Use silicone glue for nylon jackets & bags.
Spandex & Lycra
Reduce heat to 270°F. Press for 10-15 secs. Stretch fabric gently while peeling backing.
Hard Surfaces
HTV sticks to wood, ceramics, plastics, glass and more at 300°F. May need longer time, up to a minute.
Advance Heat Press Techniques
Once you master the basics, try out these cool advanced heat pressing techniques:
Layering Colors
Cut each color layer separately, weed, then arrange and press them together for a multi-color look.
Distressing
For a vintage look, press design on shirt, then stretch and re-press just a portion to distress it.
Foil
Apply foil adhesive to shirt first, heat press, then put foil over it and press again to transfer metallic effects.
Sublimation
Requires a sublimation printer, but allows full-color photorealistic images to be infused into shirts.
Flocking
Uses flock HTV with a heat activated adhesive to give a velvety texture and dimensional effects.
Heat Pressing Mistakes To Avoid
To get picture-perfect results every time, avoid these common errors:
- Forgetting teflon sheet – This prevents vinyl from sticking and scorching onto the heating plates.
- Pressing too hot – Excessive heat can scorch, crack or melt vinyl. Adhere to recommended temps.
- Removing vinyl too soon – Allow vinyl to fully cool after pressing before peeling off backing sheet.
- Washing too soon – Wait 24-48 hours before first wash to allow vinyl to fully adhere.
- Putting shirt in dryer – Always air dry pressed shirts to avoid damaging vinyl.
Frequently Asked Questions
What materials do I need for heat pressing?
You’ll need a heat press machine, HTV vinyl, a teflon sheet, weeding tool, transfer tape, and garments. Look for vinyl and supplies designed specifically for heat pressing.
Does it work on all fabric types?
HTV vinyl adheres great to cotton, polyester, and blends. It can also work on leather, nylon and some other synthetics with the right techniques. Not ideal for ultra-delicate fabrics.
How do I make multi-color designs?
Cut each color layer separately, weed away excess vinyl, then layer and press them together. Start with bottom layers first. Ensure alignment so colors register correctly.
How do I heat press a hat?
Use a hat press or attachments to flatten the hat. Flex the brim away from heating plates. Cover with teflon sheet and press at 315°F for 15 seconds. Remove and allow to fully cool before wearing.
Can I press mugs, buttons, and other items?
Yes! As long as the material can withstand temperatures of 300°F+, you can apply HTV vinyl to ceramics, plastics, glass, wood, and many other surfaces. Adjust time and pressure as needed.