
Iron on transfer paper, also known as transfer paper, allows you to transfer an image or text onto a piece of fabric like a t-shirt or tote bag. Using iron on transfers is an easy way to customize clothing, accessories, and home decor.
This complete guide will provide step-by-step instructions on how to use iron on transfer paper successfully. We’ll cover:
- What is Iron On Transfer Paper?
- Types of Transfer Paper
- What You Need to Use Iron On Transfers
- Step-by-Step Guide to Applying Transfers
- Tips for Perfect Results
- How to Care for Items with Ironed On Transfers
- Frequently Asked Questions
Table of Contents
What is Iron On Transfer Paper?
Iron on transfer paper consists of several layers. The bottom layer is a backing sheet that peels away after transferring the image. Above that is a layer of wax, polymer, or resin material that melts when heated to adhere the top layer to fabric.
The top layer is a thin sheet printed with a mirror image of the desired graphic or text. This is the part that gets ironed onto the fabric. The ink on this layer is specially formulated to transfer onto clothing.
To apply iron on transfers, you print out your image or text onto the transfer paper. Then, place it ink side down onto a piece of fabric like a t-shirt. Use a hot iron to press the back of the transfer paper and melt the adhesive layers. This bonds the ink to the fabric so the image becomes permanently adhered.
Types of Transfer Paper
There are a few different types of iron on transfer paper available:
Inkjet Transfer Paper
- Works with inkjet printers
- For transferring onto light or white fabrics
- Available for light and dark colored fabrics
Laser Transfer Paper
- For use with laser printers
- Best for solid, fill color designs instead of photos
- Can transfer onto light or dark fabrics
Dark Transfer Paper
- Specialized for dark colored fabrics
- Allow white or light images to show up well
- More expensive than standard transfer paper
Glitter Transfer Paper
- Contains glitter bonded into the transfer material
- Adds sparkle to your designs
- Following manufacturer’s directions is crucial
What You Need to Use Iron On Transfers
Using iron on transfer paper is simple with just a few supplies:
- Inkjet or Laser Printer: To print your designs onto the transfer paper.
- Transfer Paper: Sized for your printer (8.5″ x 11″ or A4). Choose for inkjet or laser printer.
- Fabric: Such as t-shirts, aprons, tote bags, pillowcases. Natural fibers work best.
- Hot Iron: Look for an iron with a heat setting that reaches at least 375°F – 400°F.
- Hard, Heat-Resistant Surface: Like an ironing board or wood table.
- Parchment Paper (optional): Helps protect transfers on delicate fabrics.
- Fabric Mod Podge (optional): Sealant adds extra durability and stiffness.
Step-by-Step Guide to Applying Transfers
Follow these simple steps for picture-perfect iron on transfers every time:
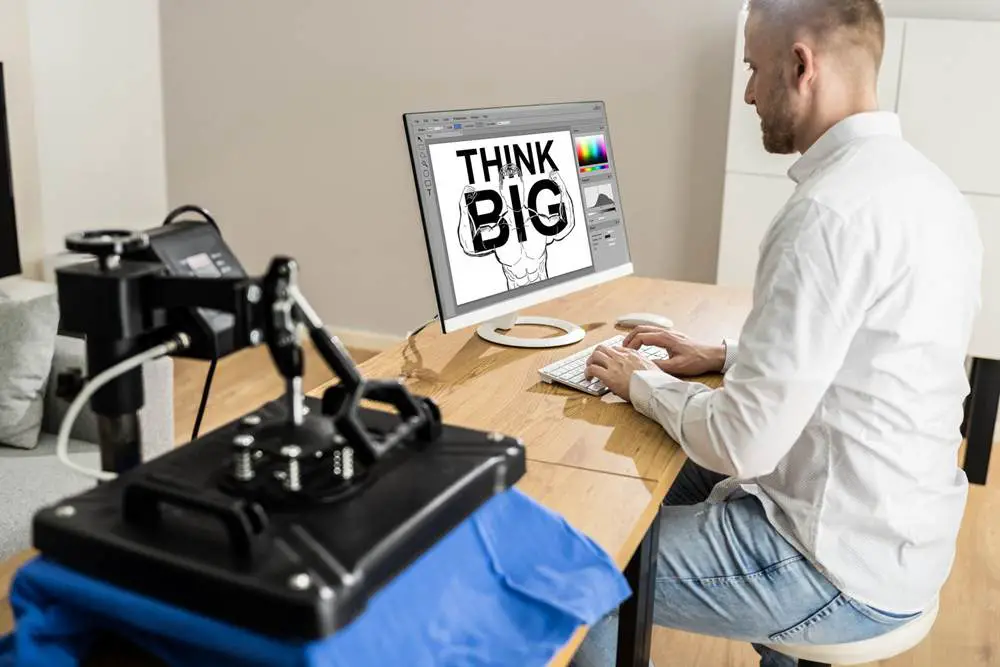
1. Create and Print Your Design
- Create your design in a software program and size it for your project. Allow for a 1⁄2” border around text or images.
- Print onto iron on transfer paper in regular or mirror image mode depending on the instructions. Print in the highest quality settings.
2. Prepare the Fabric
- Wash and thoroughly dry the fabric first to preshrink it. Iron if needed to remove wrinkles.
- Lay the fabric on a smooth, hard, heat-resistant surface. Avoid using an ironing board cover.
3. Cut Out the Transfer
- If necessary, trim around the edges of the printed transfer paper with scissors to remove any unprinted areas. This prevents staining the fabric.
4. Preheat the Iron
- Set the iron heat to the setting recommended on the transfer paper instructions, usually cotton or linen. Allow it to fully preheat.
5. Place the Transfer Face Down on the Fabric
- With the printed side down, position the transfer on the fabric in the desired spot.
6. Iron the Back of the Transfer Paper
- Place a piece of parchment paper over the transfer if needed to prevent scorching delicate fabrics.
- Firmly iron on the back (unprinted side) of the transfer paper for 30-60 seconds. Don’t slide the iron around.
- Apply firm, even pressure. Check packaging for the recommended ironing time.
7. Allow to Cool and Peel Off the Backing
- Let the fabric cool for 5-10 seconds. Carefully peel away the transfer backing paper starting at a corner.
- The image or text should remain, now transferred onto the fabric.
8. Seal and Re-iron if Desired
- Applying a product like Fabric Mod Podge will adhere stray fibers and seal the transfer.
- For a smooth, even transfer, place parchment paper over it and iron again for 15-30 seconds.
And just like that, you’ve successfully ironed on a custom transfer!
Tips for Perfect Results
Use these handy tips to master perfectly transferring images and text onto fabric:
- Maintain a hot iron temperature and change transfer settings as needed.
- Print onto transfer paper designed for your printer (inkjet or laser).
- Allow freshly washed fabric to dry completely before transferring.
- Cut away transfer areas without images or text so ink doesn’t bleed onto the fabric.
- Work on a hard, smooth surface like wood or glass. Avoid using an ironing board cover.
- Place parchment paper over delicate fabrics if they scorch easily.
- Don’t slide the iron around when heating the transfer. Keep it firmly in place.
- Let the transfer cool slightly before peeling off the backing for best results.
- Apply a sealant like Fabric Mod Podge for added durability and opacity.
How to Care for Items with Ironed On Transfers
Caring for your finished projects with iron on transfers is easy. Follow these steps when washing to maintain the graphics:
- Turn the garment or fabric item inside out before washing. Use cold water on a gentle cycle.
- Avoid using bleach or other harsh detergents that can break down the inks.
- Lay flat or hang to dry. Avoid putting fabric items with transfers in the dryer. The heat can damage the image over time.
- Touch up designs after washing by ironing the transfer again for 10-15 seconds if needed.
- For items prone to frequent washing, seal transfers with a fabric sealant like Mod Podge prior to the first wash to protect the design.
Properly applied iron on transfers can withstand many times through the wash. Handle with care and your custom projects will look great for many wears to come!
Frequently Asked Questions
Still have questions about using iron on transfer paper? Here are answers to some commonly asked questions:
Can you iron transfers onto any fabric?
- Transfers work best on natural fabrics like 100% cotton or cotton blends. Polyester and synthetic materials often don’t absorb the inks as well.
What’s the difference between inkjet and laser transfer paper?
- Inkjet transfer paper works with color or black inkjet printers. Laser transfer paper is for black and white laser printers. Make sure to match the paper with your printer type.
Can you use an iron on transfer on a jacket or bag?
- Yes, you can iron transfers onto almost any fabric including jackets, bags, pillows and more. Use appropriate heat settings and parchment paper as needed.
How do you print a transfer in mirror image?
- Look for the mirror image option in your printer settings. This reverses the image or text so it transfers correctly onto the fabric.
How long do transfers last on fabric?
- With proper washing and care, iron on transfers can last through many washes. Using a sealant makes them more durable. Avoid high heat drying.
What types of fabric work best for iron on transfers?
- Natural fabrics like 100% cotton and cotton blends work best. For polyester or stretchy material, use specially formulated transfer papers.
With the steps in this guide, you’ll be customizing t-shirts, totes and other fabric items with beautiful iron on transfers in no time! Follow the tips above, and you’ll get picture-perfect results every time.
Jim Koch
Sunday 28th of January 2024
I have looked and looked but no complete guide answers my question. Can I print the transfers with inkjet weeks in advance or do I have to use them right after printing?