Cutting the sleeves off a t-shirt or button-down shirt can give your wardrobe an instant refresh for summer. Going sleeveless is a great way to beat the heat and show off your arms. Whether you want to DIY a muscle tee, make a sleeveless blouse, or turn an old dress shirt into a tank, cutting off sleeves is an easy alteration anyone can do at home.
In this article, we’ll go over 9 simple methods for how to cut the sleeves off a shirt. With these step-by-step tutorials, you’ll learn proper sleeve removal techniques to get a clean, professional look. Let’s get started!
Table of Contents
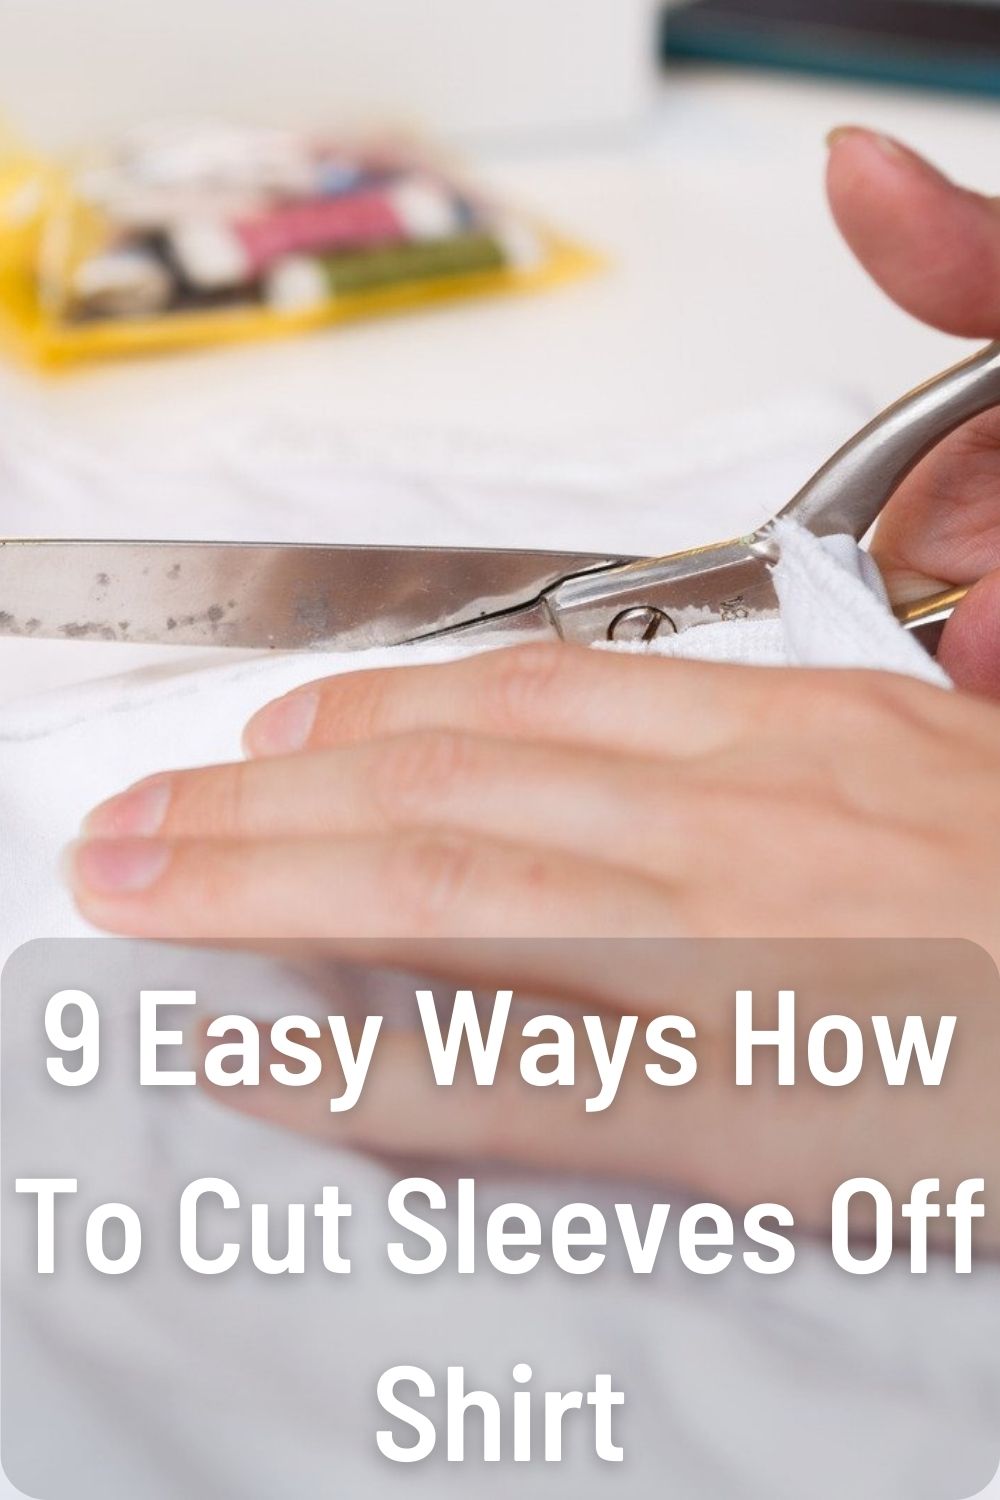
1. Fold and Cut with Scissors
The most basic way to remove sleeves is by simply folding the sleeve in half lengthwise and cutting along the fold with scissors.
Here’s how:
- Lay the shirt flat and smooth out any wrinkles.
- Starting at the shoulder seam, fold one sleeve in half lengthwise, lining up the underarm seam and outer seam.
- Using sharp scissors, cut along the fabric fold through both layers, removing the sleeve in one snip.
- Repeat on the other sleeve.
This quick and easy method works great for basic tees and lightweight shirts. The fold guides your cut to remove the sleeve evenly. For a smooth cut line, go slow and steady with the scissors.
2. Cut Along the Outer Seam
For button-down shirts or blouses, try cutting the sleeve off along the outer seam for a clean look.
Follow these steps:
- Lay the shirt flat and unbutton it completely.
- Starting at the cuff, cut up the outer sleeve seam, through the placket openings. Stop at the shoulder seam.
- Flip the shirt over and repeat on the back outer seam. The sleeve will now be detached.
Cutting along the original seam helps preserve the shape of the armscye and prevents unsightly holes under the arms. This method also keeps button plackets intact for a polished finish.
3. Cut Along Inner Seam
Similar to the outer seam technique, you can also cut along the inner seam of a shirt sleeve for removal.
To cut along the inner seam:
- Lay the shirt flat and unbutton the cuffs.
- Starting at the underarm side seam, cut up the inner seam toward the shoulder.
- Flip the shirt over and repeat the cut on the backside to fully detach the sleeve.
The inner seam approach also utilizes the shirt’s original sewing lines for a tidy look. Without any outer seam, this leaves a sleeveless shirt with narrower arm openings.
4. Cut with an Existing Hem
If your shirt already has hemmed sleeves, you can simply cut along the folded hem edge.
Follow these simple steps:
- Locate the sleeve hem and flatten it out.
- Cut along the folded hem edge, through both layers of fabric. Remove the sleeve portion.
- Repeat on the opposite sleeve.
This technique removes the bare minimum amount of fabric since you follow the existing sleeve hem. It leaves a finished look with no fraying or raw edges. Ideal for tailored shirts or blouses with double-folded hems.
5. Taper the Sleeve
For a gradual, tapered look, gradually cut from sleeve hem to underarm in sections.
To taper cut sleeves:
- Start by cutting across the cuff, removing several inches above the hem.
- Move up the sleeve and make another straight cut, removing more fabric.
- Repeat tapering cuts, moving towards the underarm. Remove final sleeve portion at underarm seam.
- Repeat on other sleeve.
This creates a diagonal, tapered arm opening and helps prevent holes or gaps around the underarm. Go slow and check tapering progress frequently.
6. Cut with Pinking Shears
Pinking shears have zigzag blade edges that help stop fabric fraying. Use them to neatly cut off sleeves.
Here’s how to cut sleeves with pinking shears:
- Fully extend one sleeve and cut across using pinking shears. Remove the cuff portion.
- Make a second cut further up the sleeve with pinking shears.
- Continue pinked cuts up the sleeve, removing it in sections toward underarm.
- Repeat sleeve removal on the other side.
The zigzag cuts help prevent unraveling, leaving a nicely finished sleeveless shirt. This works great on casual tees and knit tops.
7. Use a Seam Ripper
A seam ripper easily removes sleeve stitching for a clean detachment.
Follow these seam ripping steps:
- Locate the shoulder seam where the sleeve attaches. Gently rip the seam’s stitches with the seam ripper tool.
- Next, rip the underarm side seam to completely free the sleeve.
- On the removed sleeve, rip any remaining shoulder seam stitches for a full detach.
- Repeat the seam ripping process on the second sleeve.
Ripping the sewing threads maintains the original hems and shape. It leaves a smooth finish at the armscye edges.
8. Cut Off with Rotary Cutter
A rotary cutting tool and ruler offers precise sleeve removal. Use with a self-healing mat.
To rotary cut sleeves:
- Place shirt flat on the mat. Line up see-through ruler along the sleeve outer seam.
- Run the rotary cutter along edge of the ruler to accurately cut off the sleeve.
- Reposition ruler and repeat rotary cuts to remove the rest of the sleeve.
- Use the mat grid lines to ensure cut lines are even.
The rotary cutter and ruler combo allows for perfectly straight seams along the original sleeve line. Change ruler angle for tapered shaping.
9. Unpick and Re-Sew Armscye
For a finished arm opening, unpick the sleeves then re-sew the armscye raw edges.
How to sew the arm opening:
- Rip out the shoulder and side underarm sleeve seams with a seam ripper.
- Pull sleeves away. Clip any remaining threads.
- Press under 1⁄4” on the armscye raw edge. Pin.
- Sew a straight stitch 1⁄8” from folded edge around the arm openings.
This enclosed seam prevents fraying and stretching out. The stitching neatly finishes the arm holes when sleeveless.
There are many approaches for DIY sleeve removal to suit different shirt styles and your desired look. Follow these simple tutorials for properly cutting off sleeves at home. Soon you’ll be rocking fun sleeveless shirts for the hot weather.
Comparison of Sleeve Removal Methods
| Method | Best For | Seam Finish | Difficulty |
|---|---|---|---|
| Fold and Cut | Basic tees, lightweight fabrics | Raw edge | Easy |
| Outer Seam Cut | Button-downs, tailored shirts | Clean finish | Intermediate |
| Inner Seam Cut | Casual shirts | Raw edge | Intermediate |
| Hem Cut | Shirting with cuff hems | No fraying | Easy |
| Taper Cut | Gradual shaping | Potential holes | Advanced |
| Pinking Shears | Knits, t-shirts | Zigzag edge | Easy |
| Seam Ripper | Button-downs, wovens | Original hems | Intermediate |
| Rotary Cutter | Precise cutting | Straight edges | Intermediate |
| Re-sew Armscye | Finished arm openings | Enclosed seams | Advanced |
Frequently Asked Questions
1. Can I cut sleeves off any type of shirt?
You can cut sleeves off most shirt styles, but some materials work better than others. Knits like t-shirts are easy to alter sleeveless. Woven fabrics like oxfords may require extra hemming. Avoid sheer, delicate, or embellished fabrics.
2. Will my shirt fray after cutting off sleeves?
It depends on the fabric type and cut method. Knits and tightly woven materials resist fraying. Straight seam cuts tend to fray more than zigzag or hemmed edges. Consider extra hemming or use pinking shears to inhibit fraying.
3. How short should I cut the sleeves?
This depends on your preference! For traditional muscle tanks, cut sleeves off above armholes leaving just a small shoulder strap. For a cap sleeve, cut off sleeves a few inches below the shoulder. For a bra strap look, cut armholes deep and wide.
4. Should I re-hem the sleeve edges after cutting?
It’s not mandatory, but hemming the cut edges will give a polished, finished look. For casual DIY projects, simply trimming fraying threads is fine. Use iron-on adhesive hem tape for quicker hemming.
5. What’s the best method for sleeve removal on a button-down shirt?
Cutting along the original outer seam works well for button-downs to maintain a clean finish. Using a seam ripper also neatly detaches sleeves on dress shirts while preserving the hem.
Cutting off sleeves is an easy DIY shirt modification for seasonal style. Follow these techniques to remove sleeves at home. Experiment on old shirts first to perfect your method before altering favorite tops. With the right tools and some practice, you’ll get professional-looking results. Show off those summer arms in your trendy new sleeveless shirts!